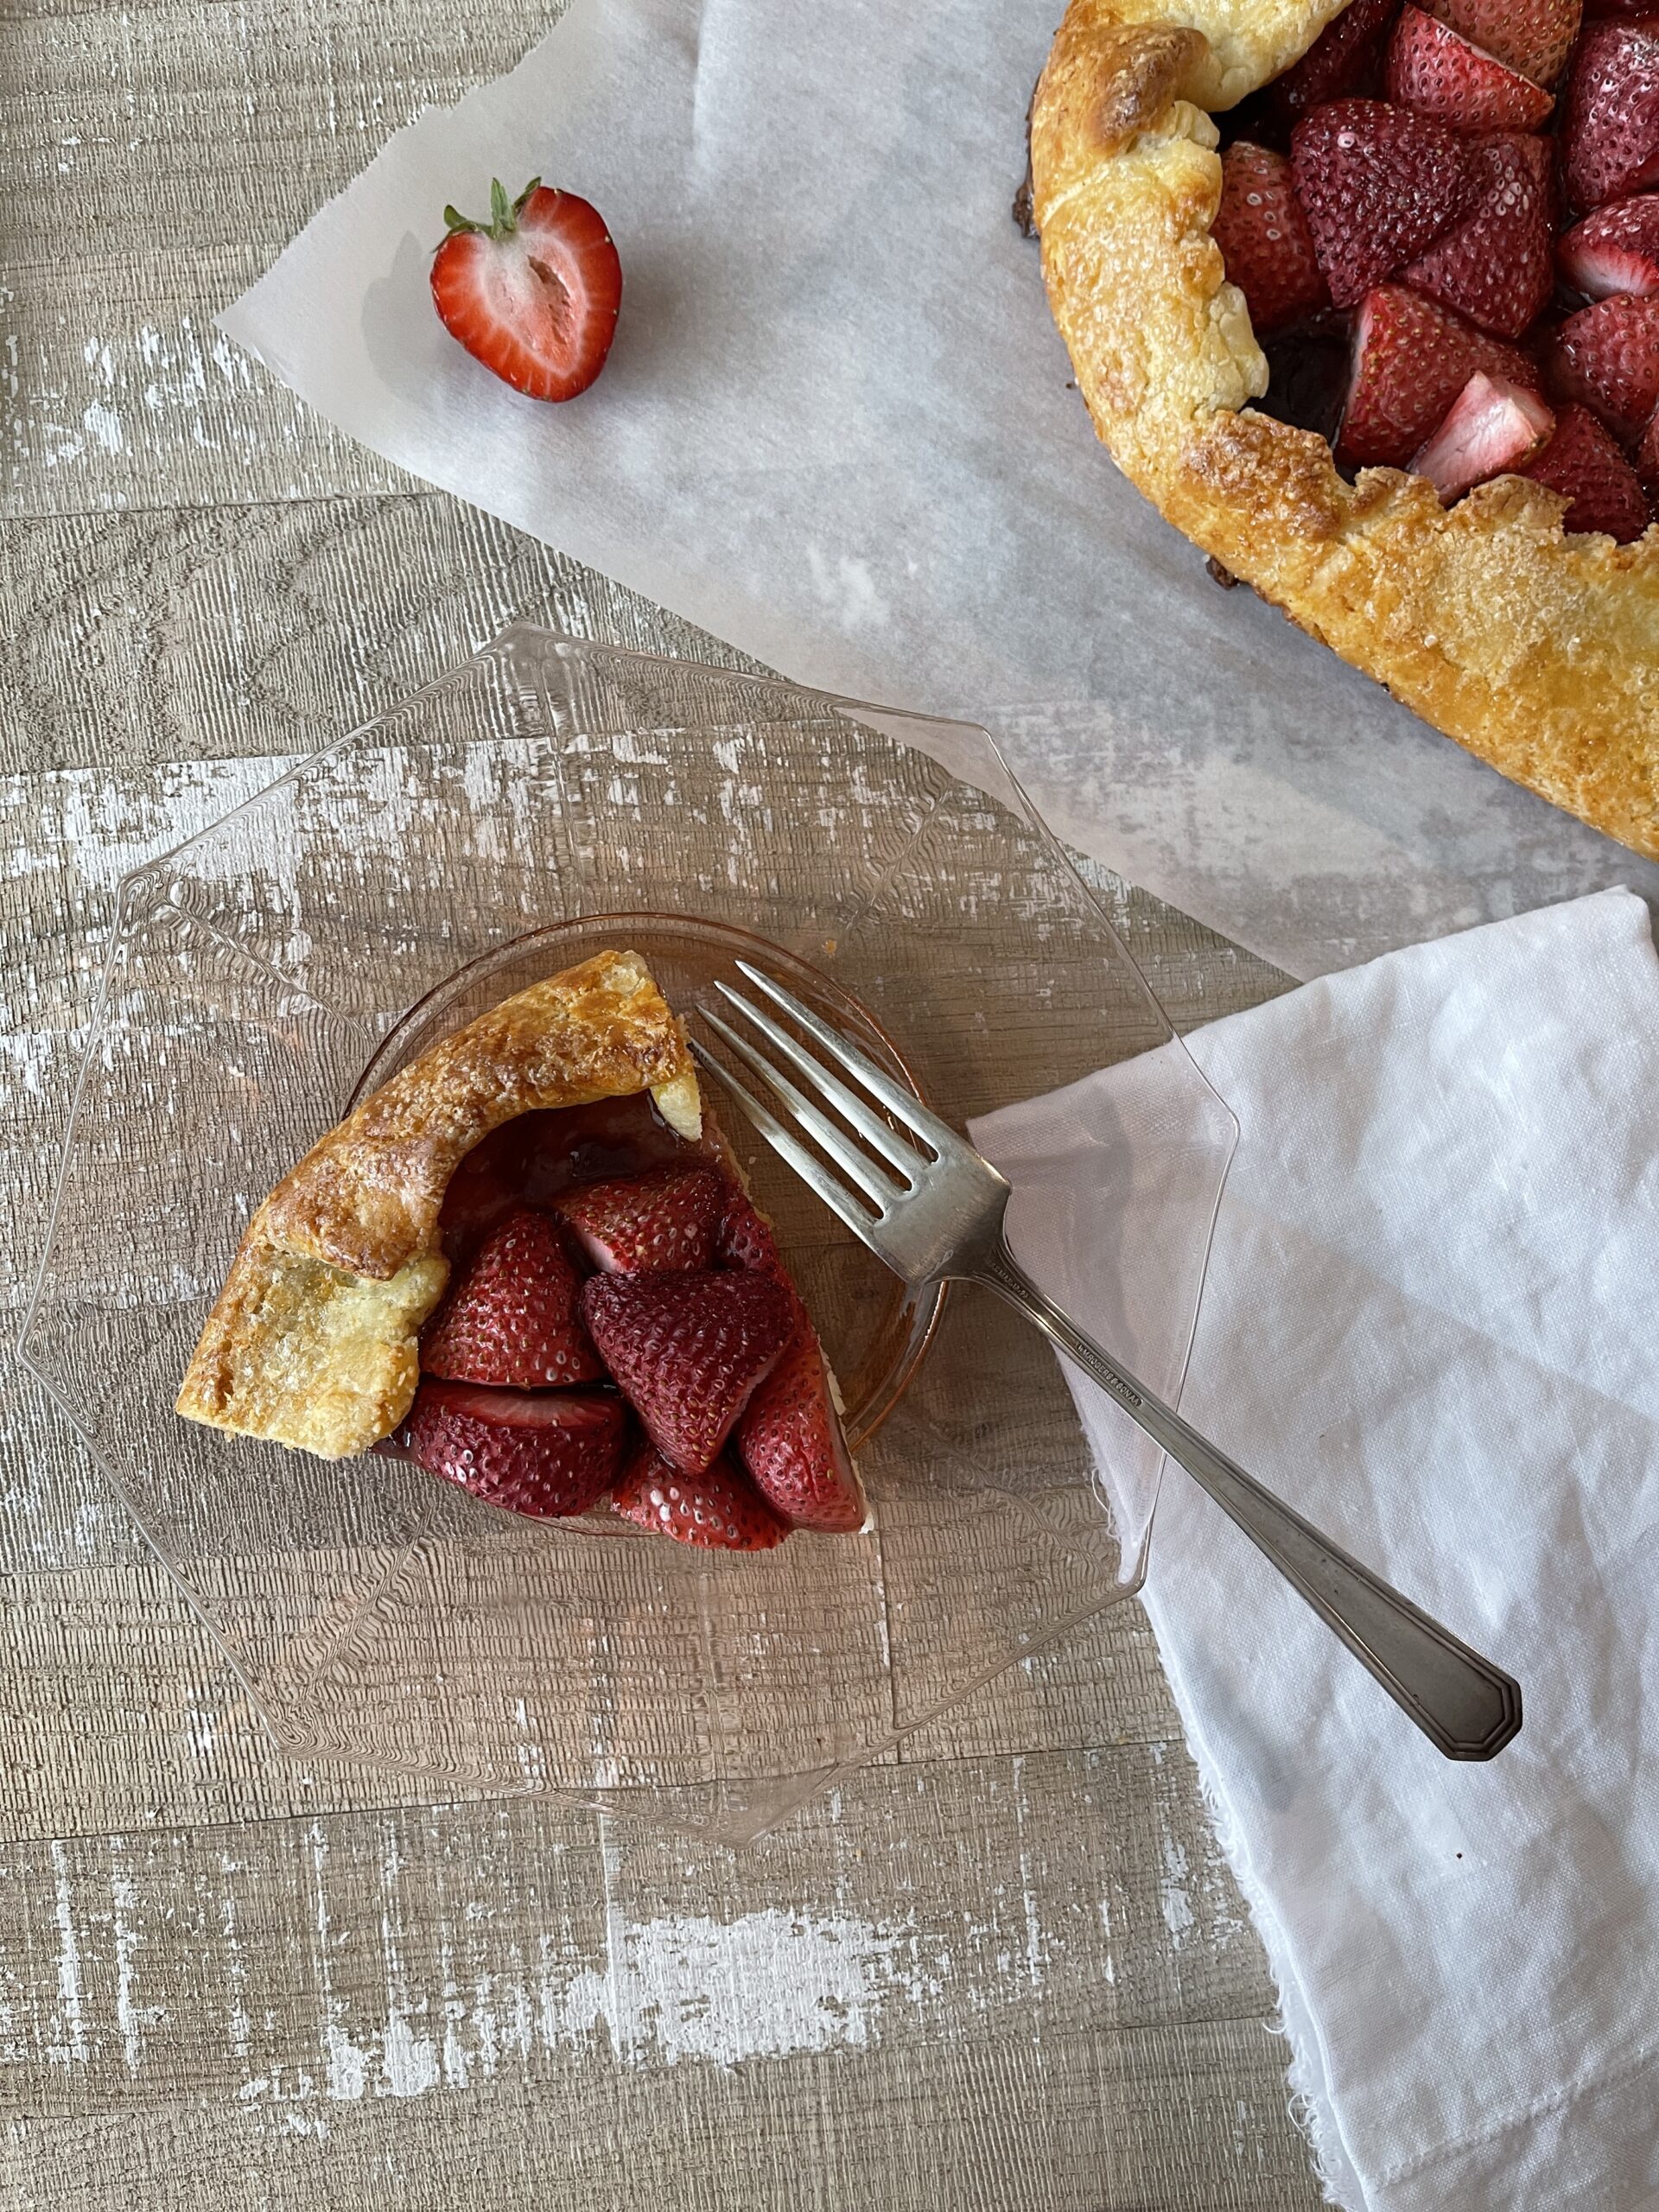
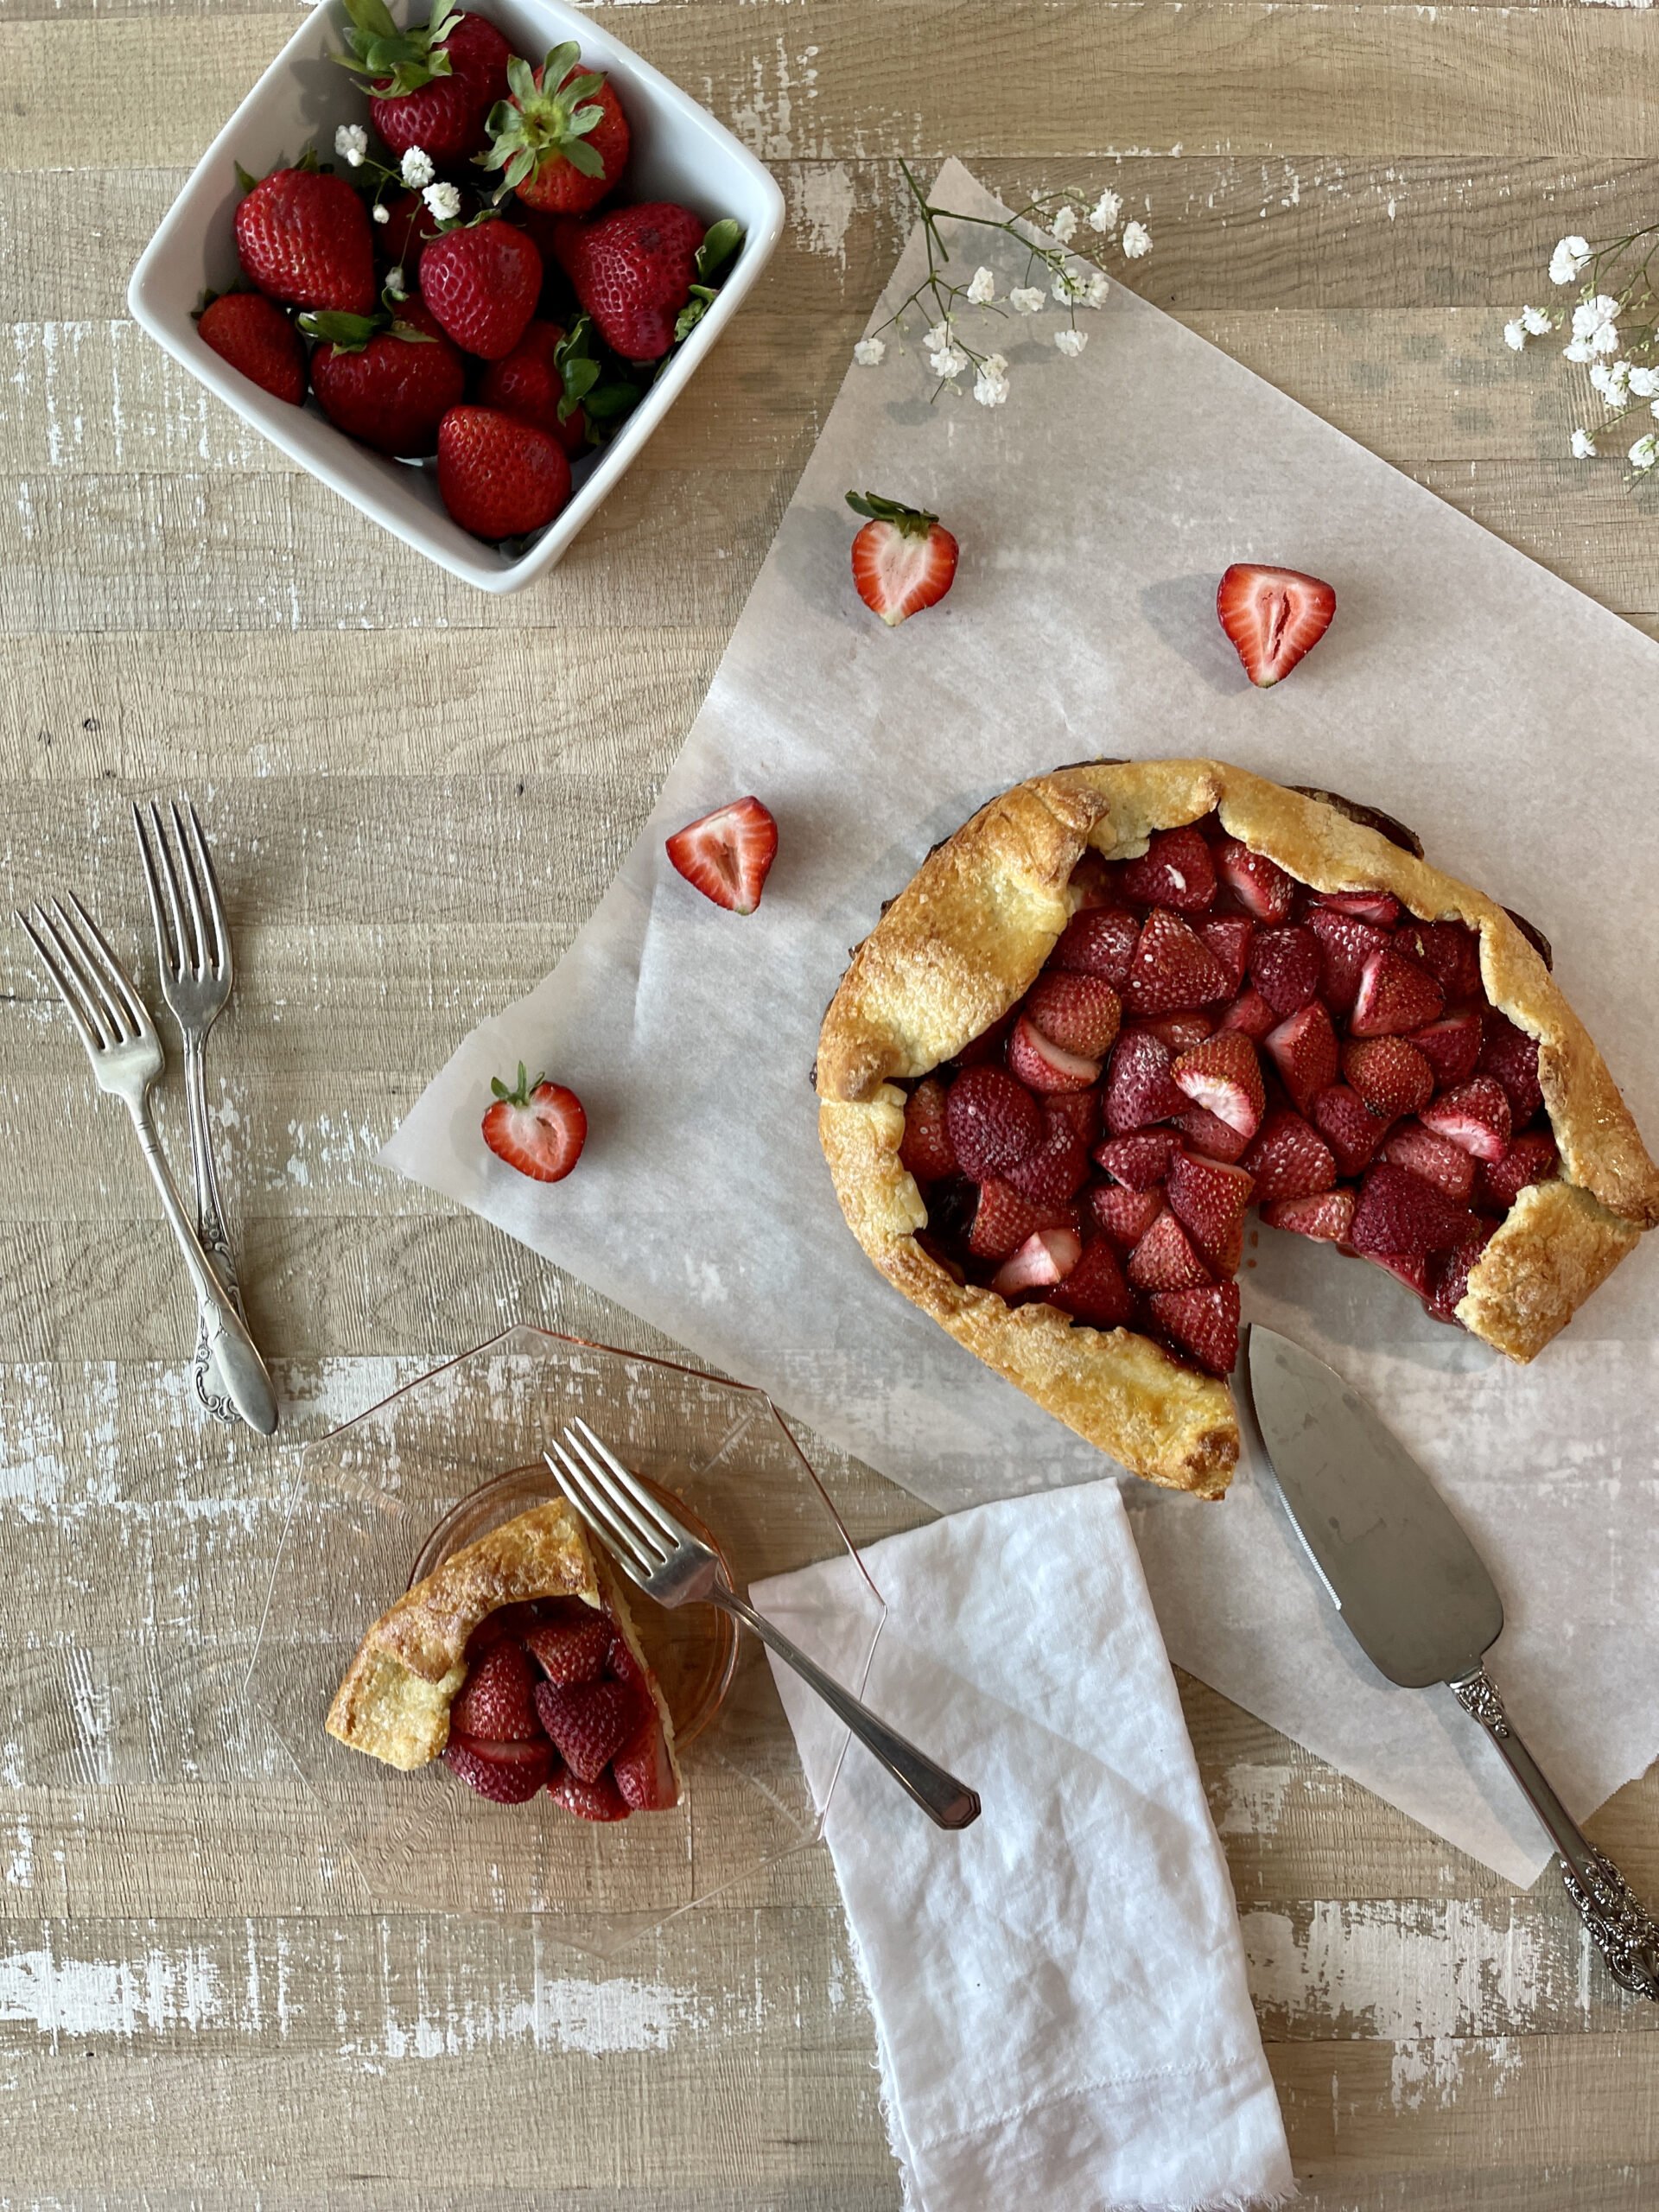
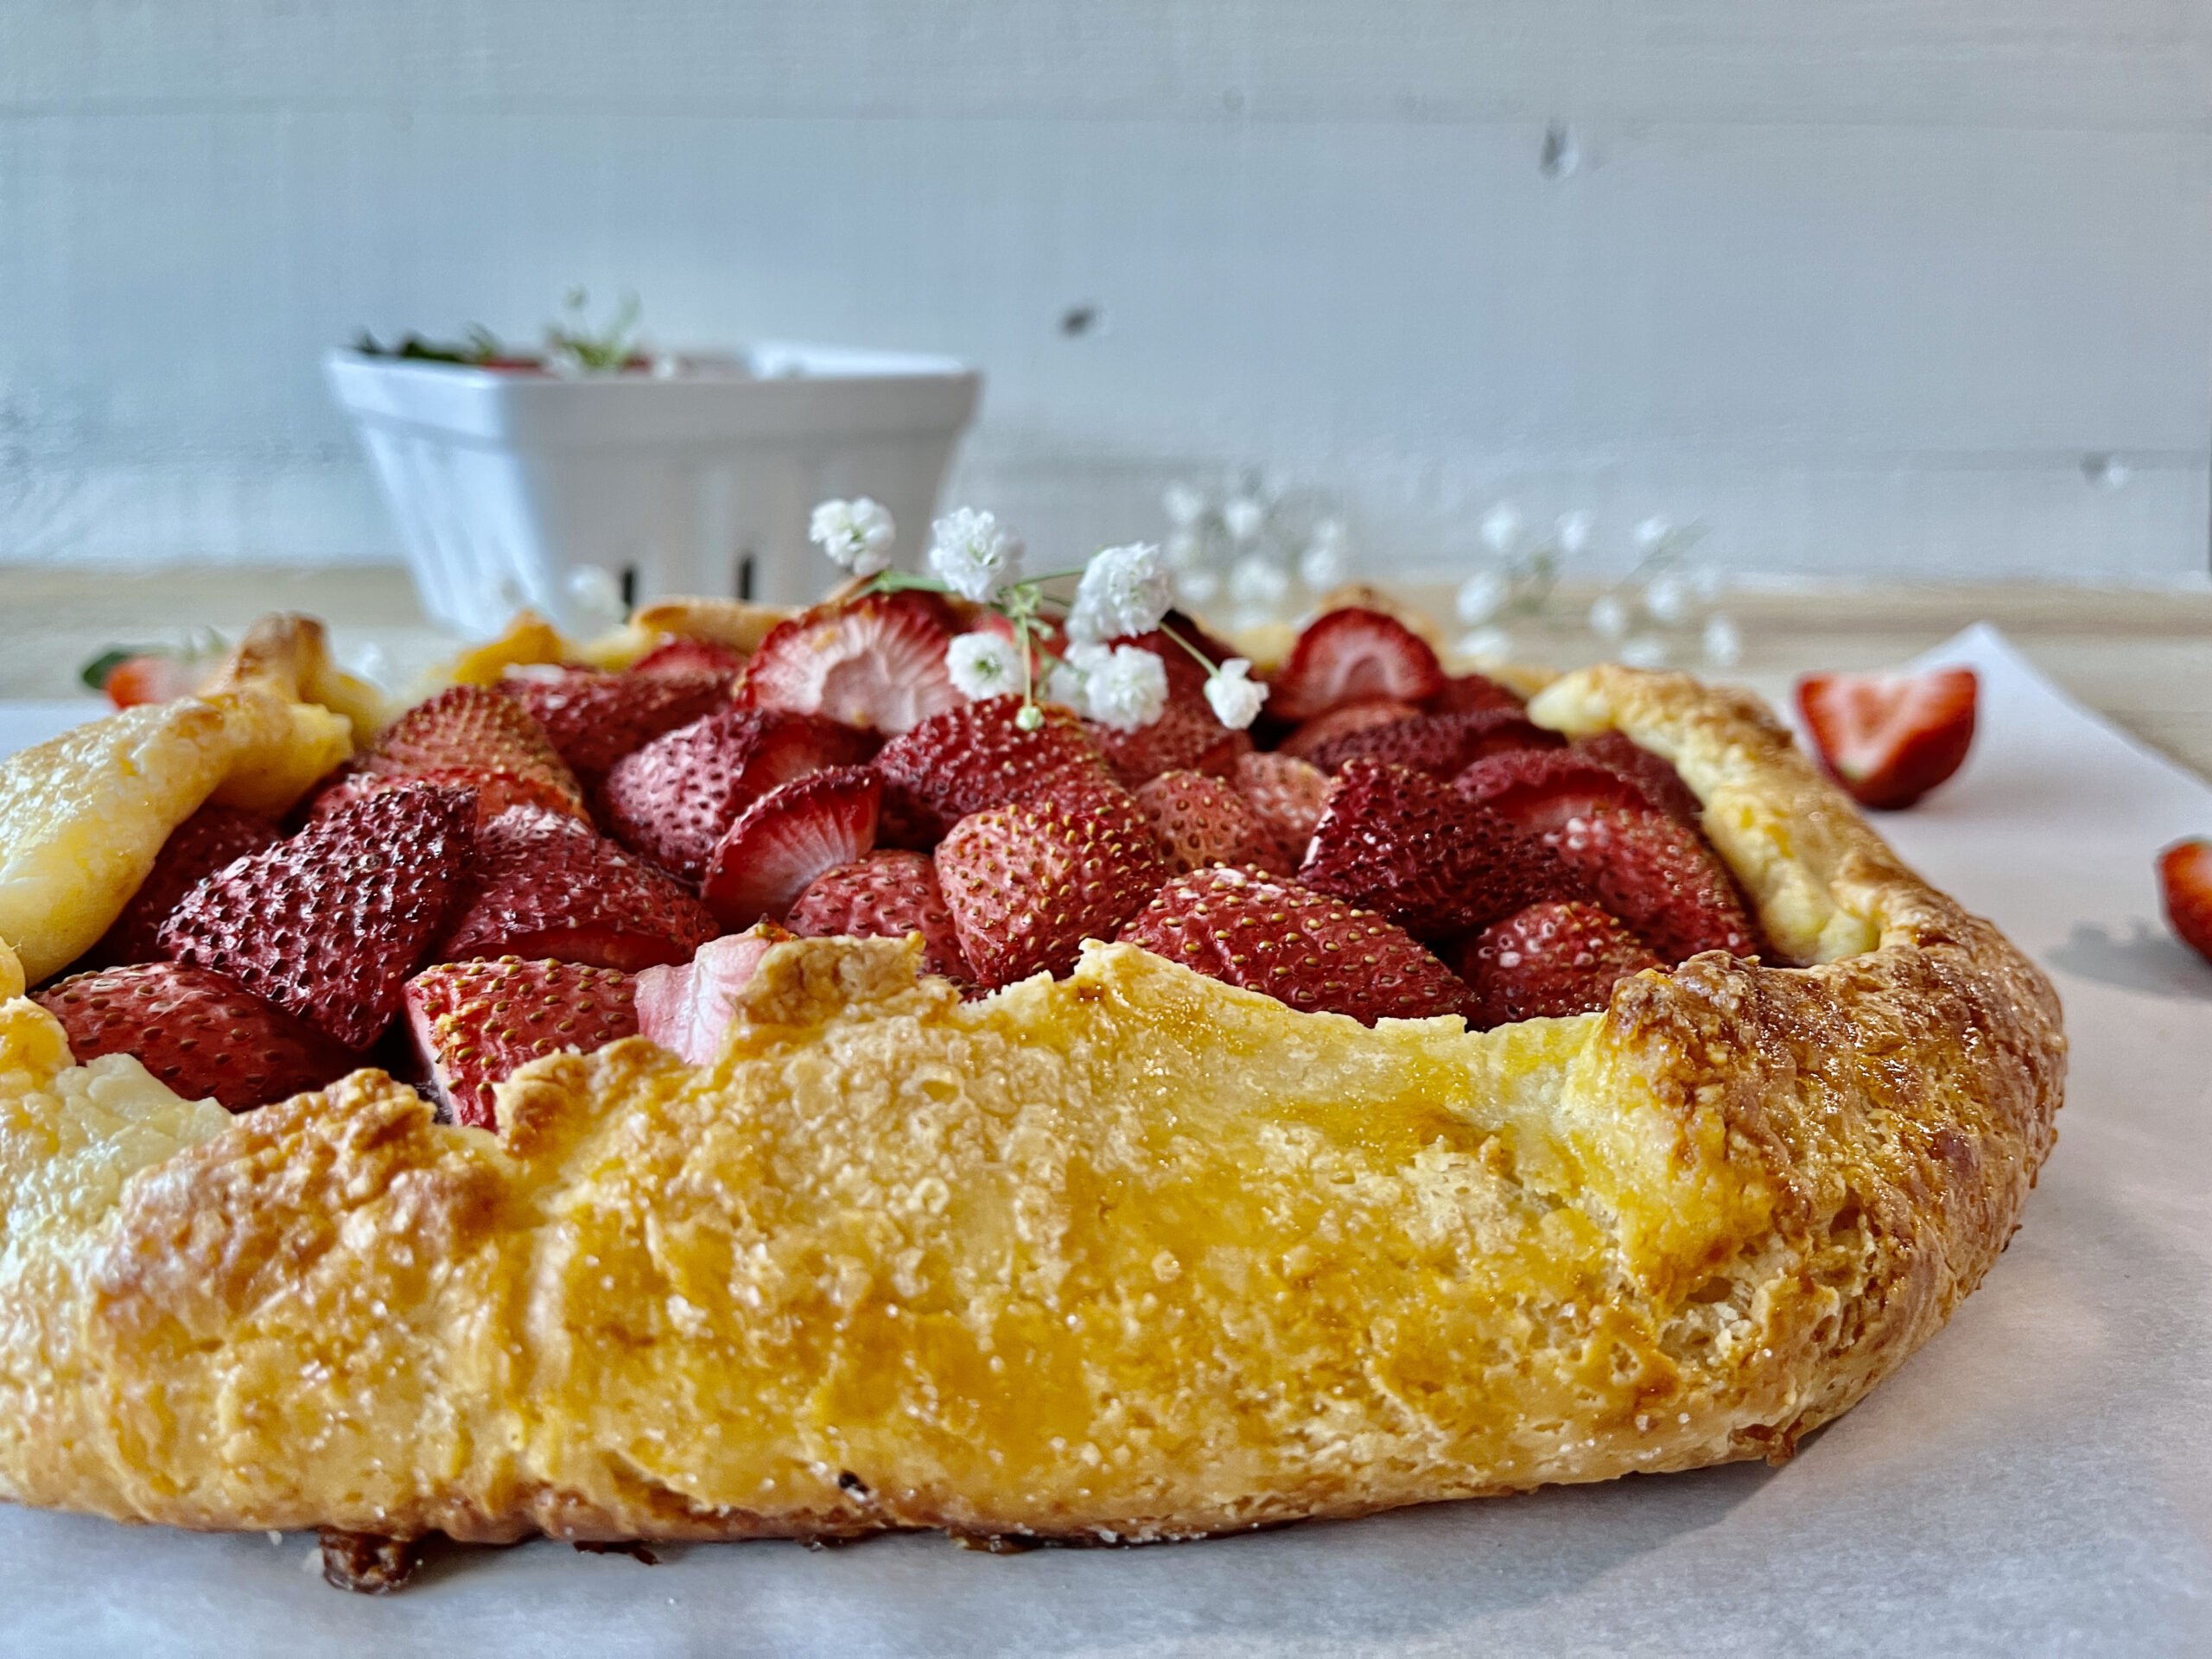
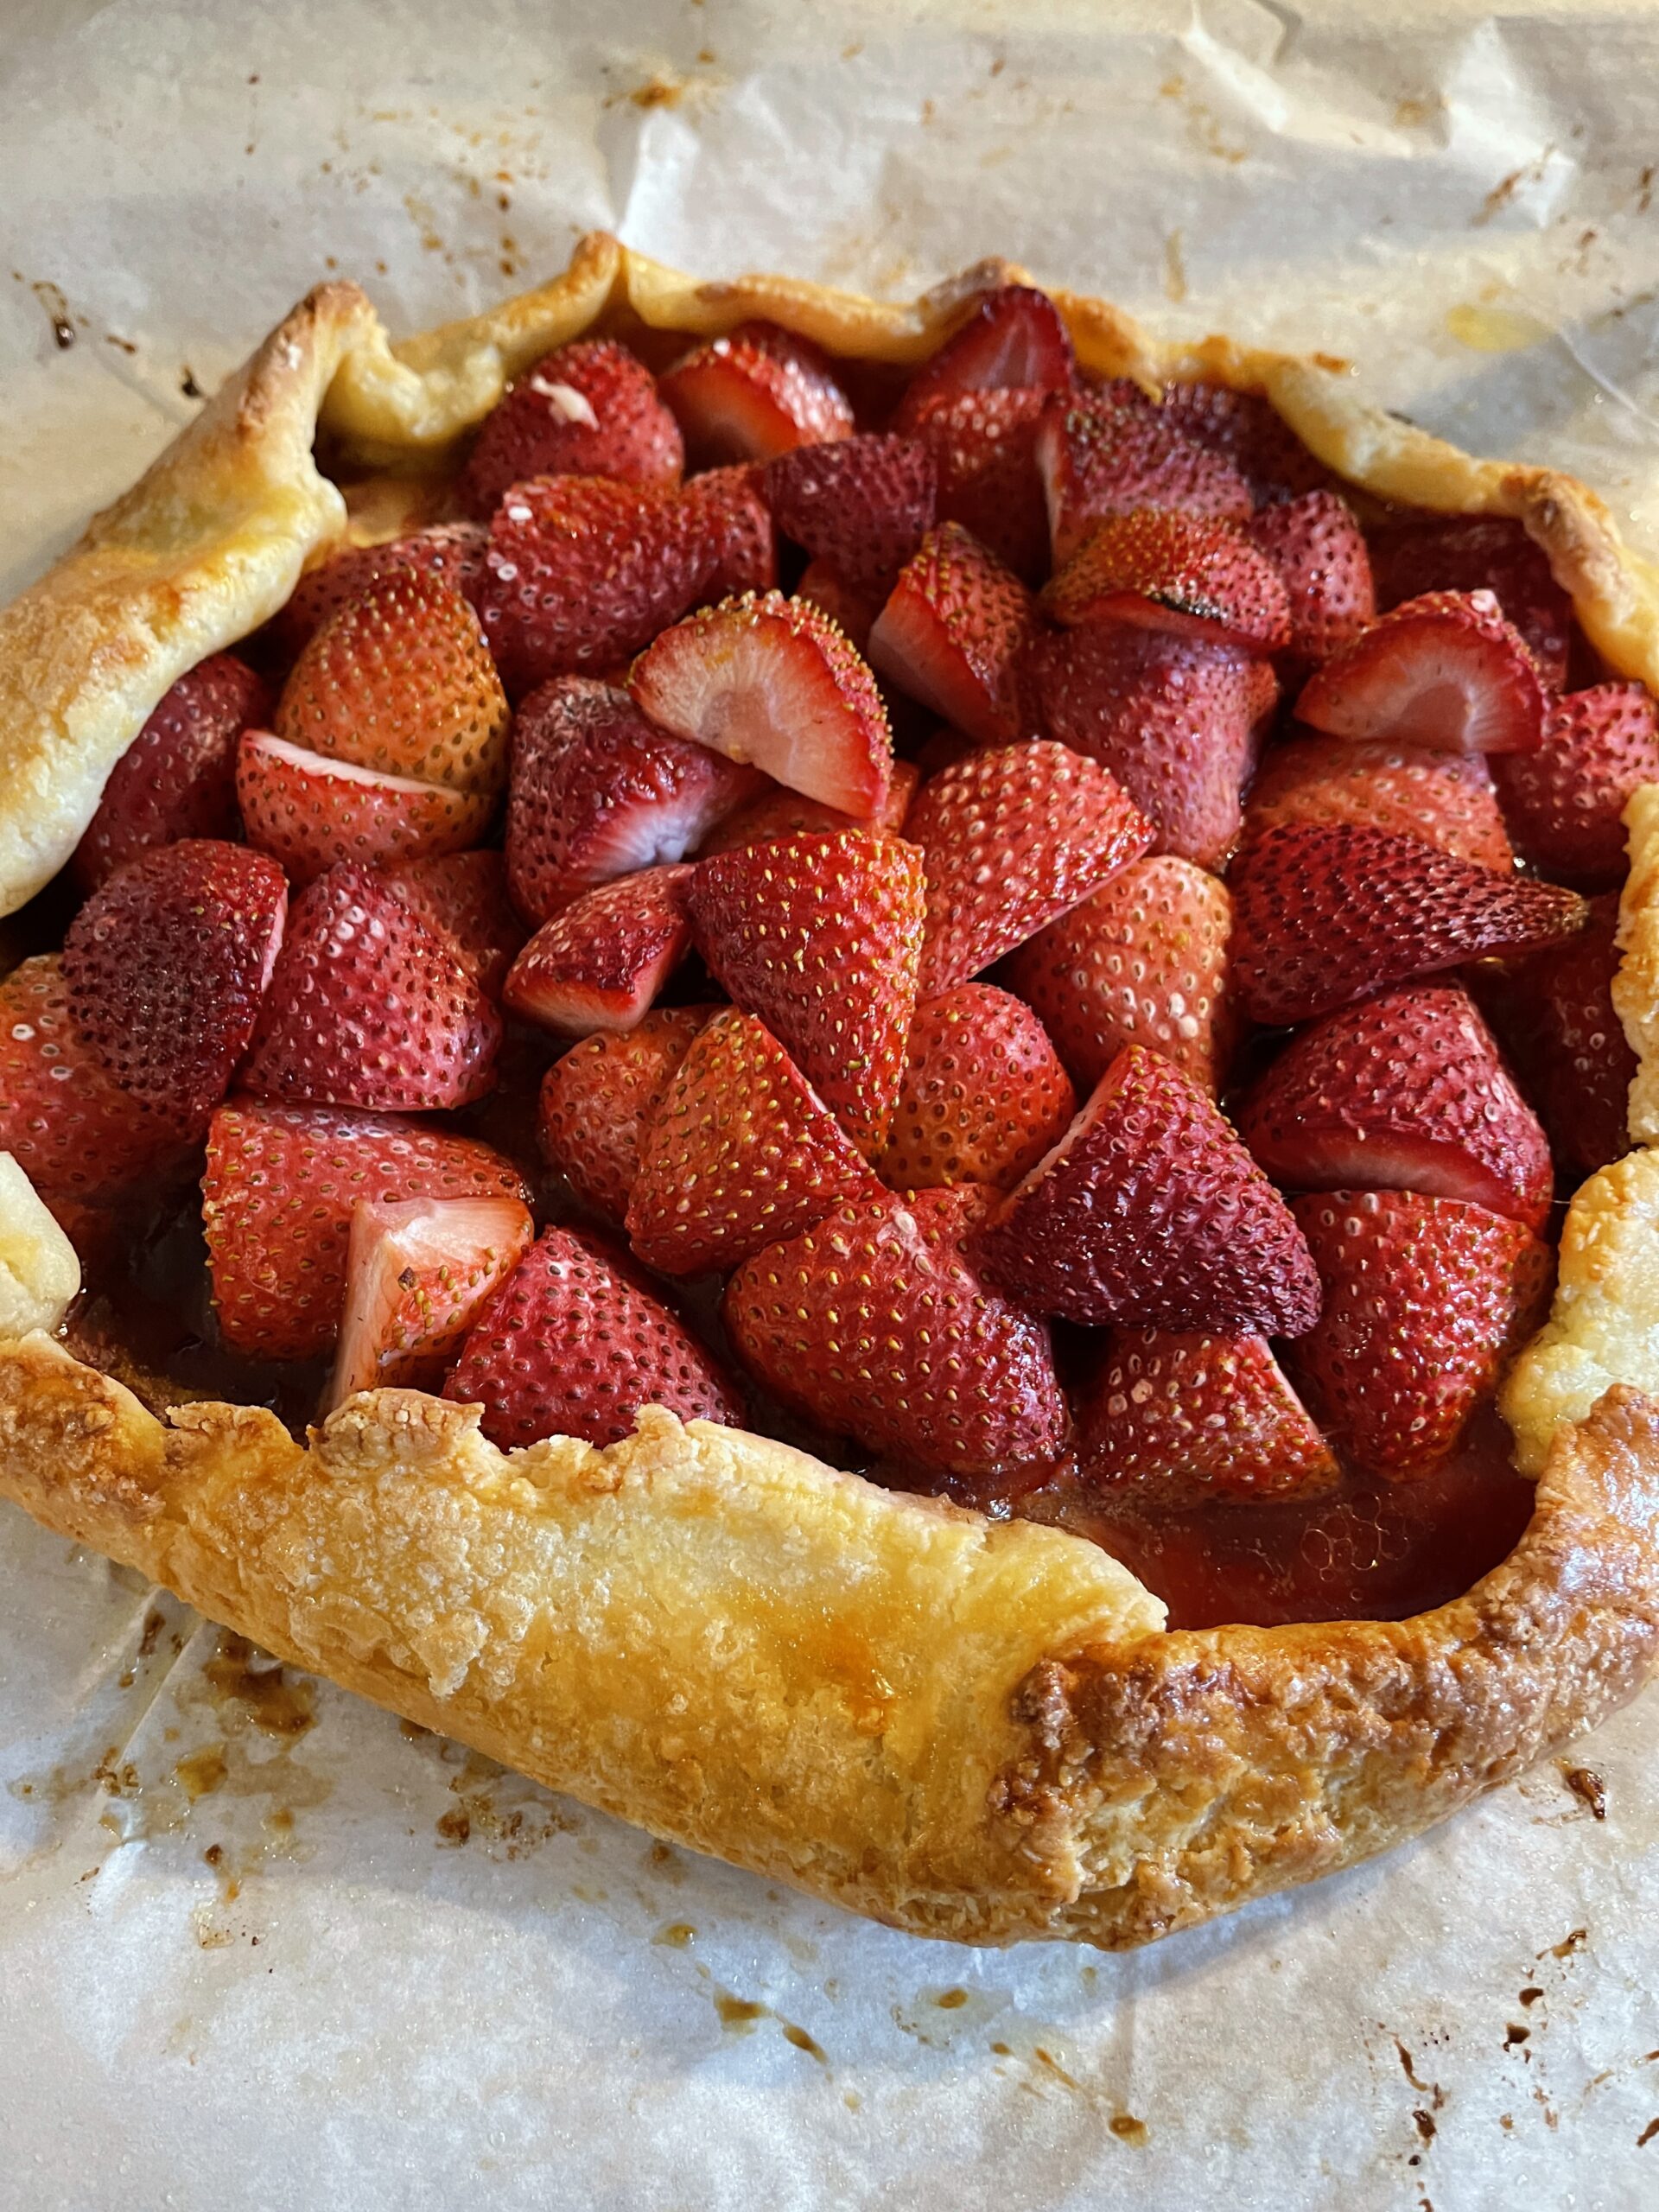
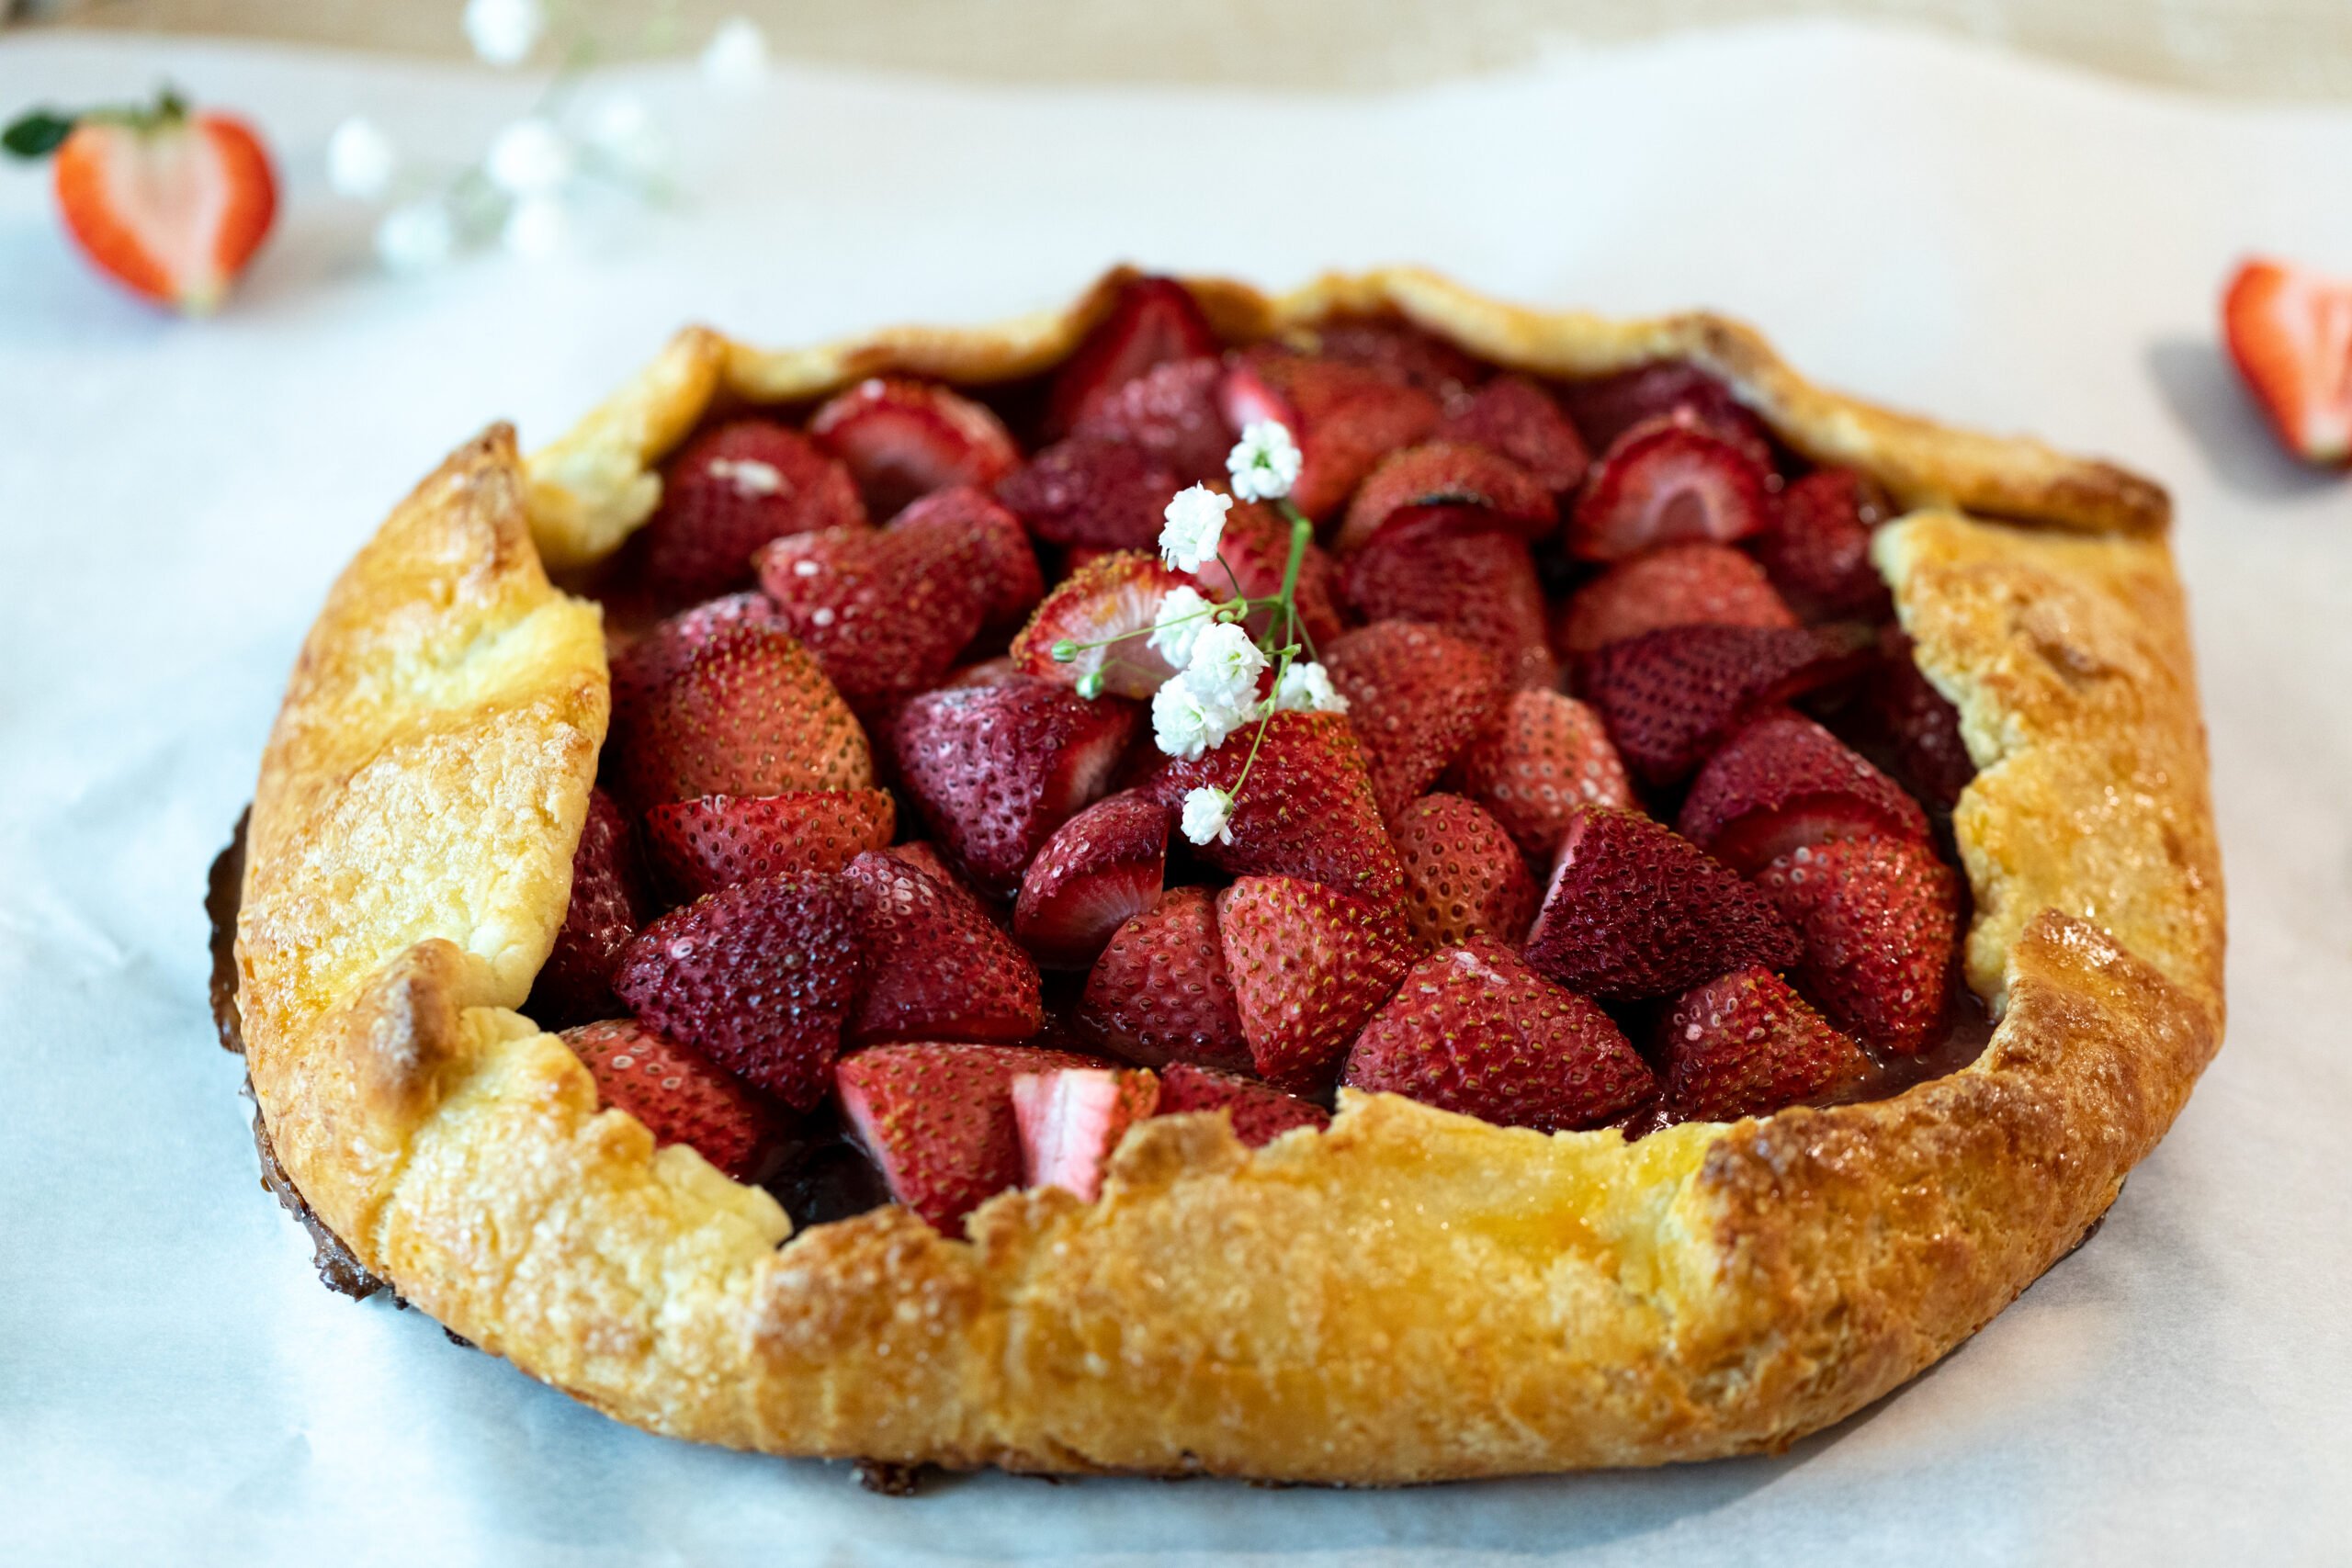
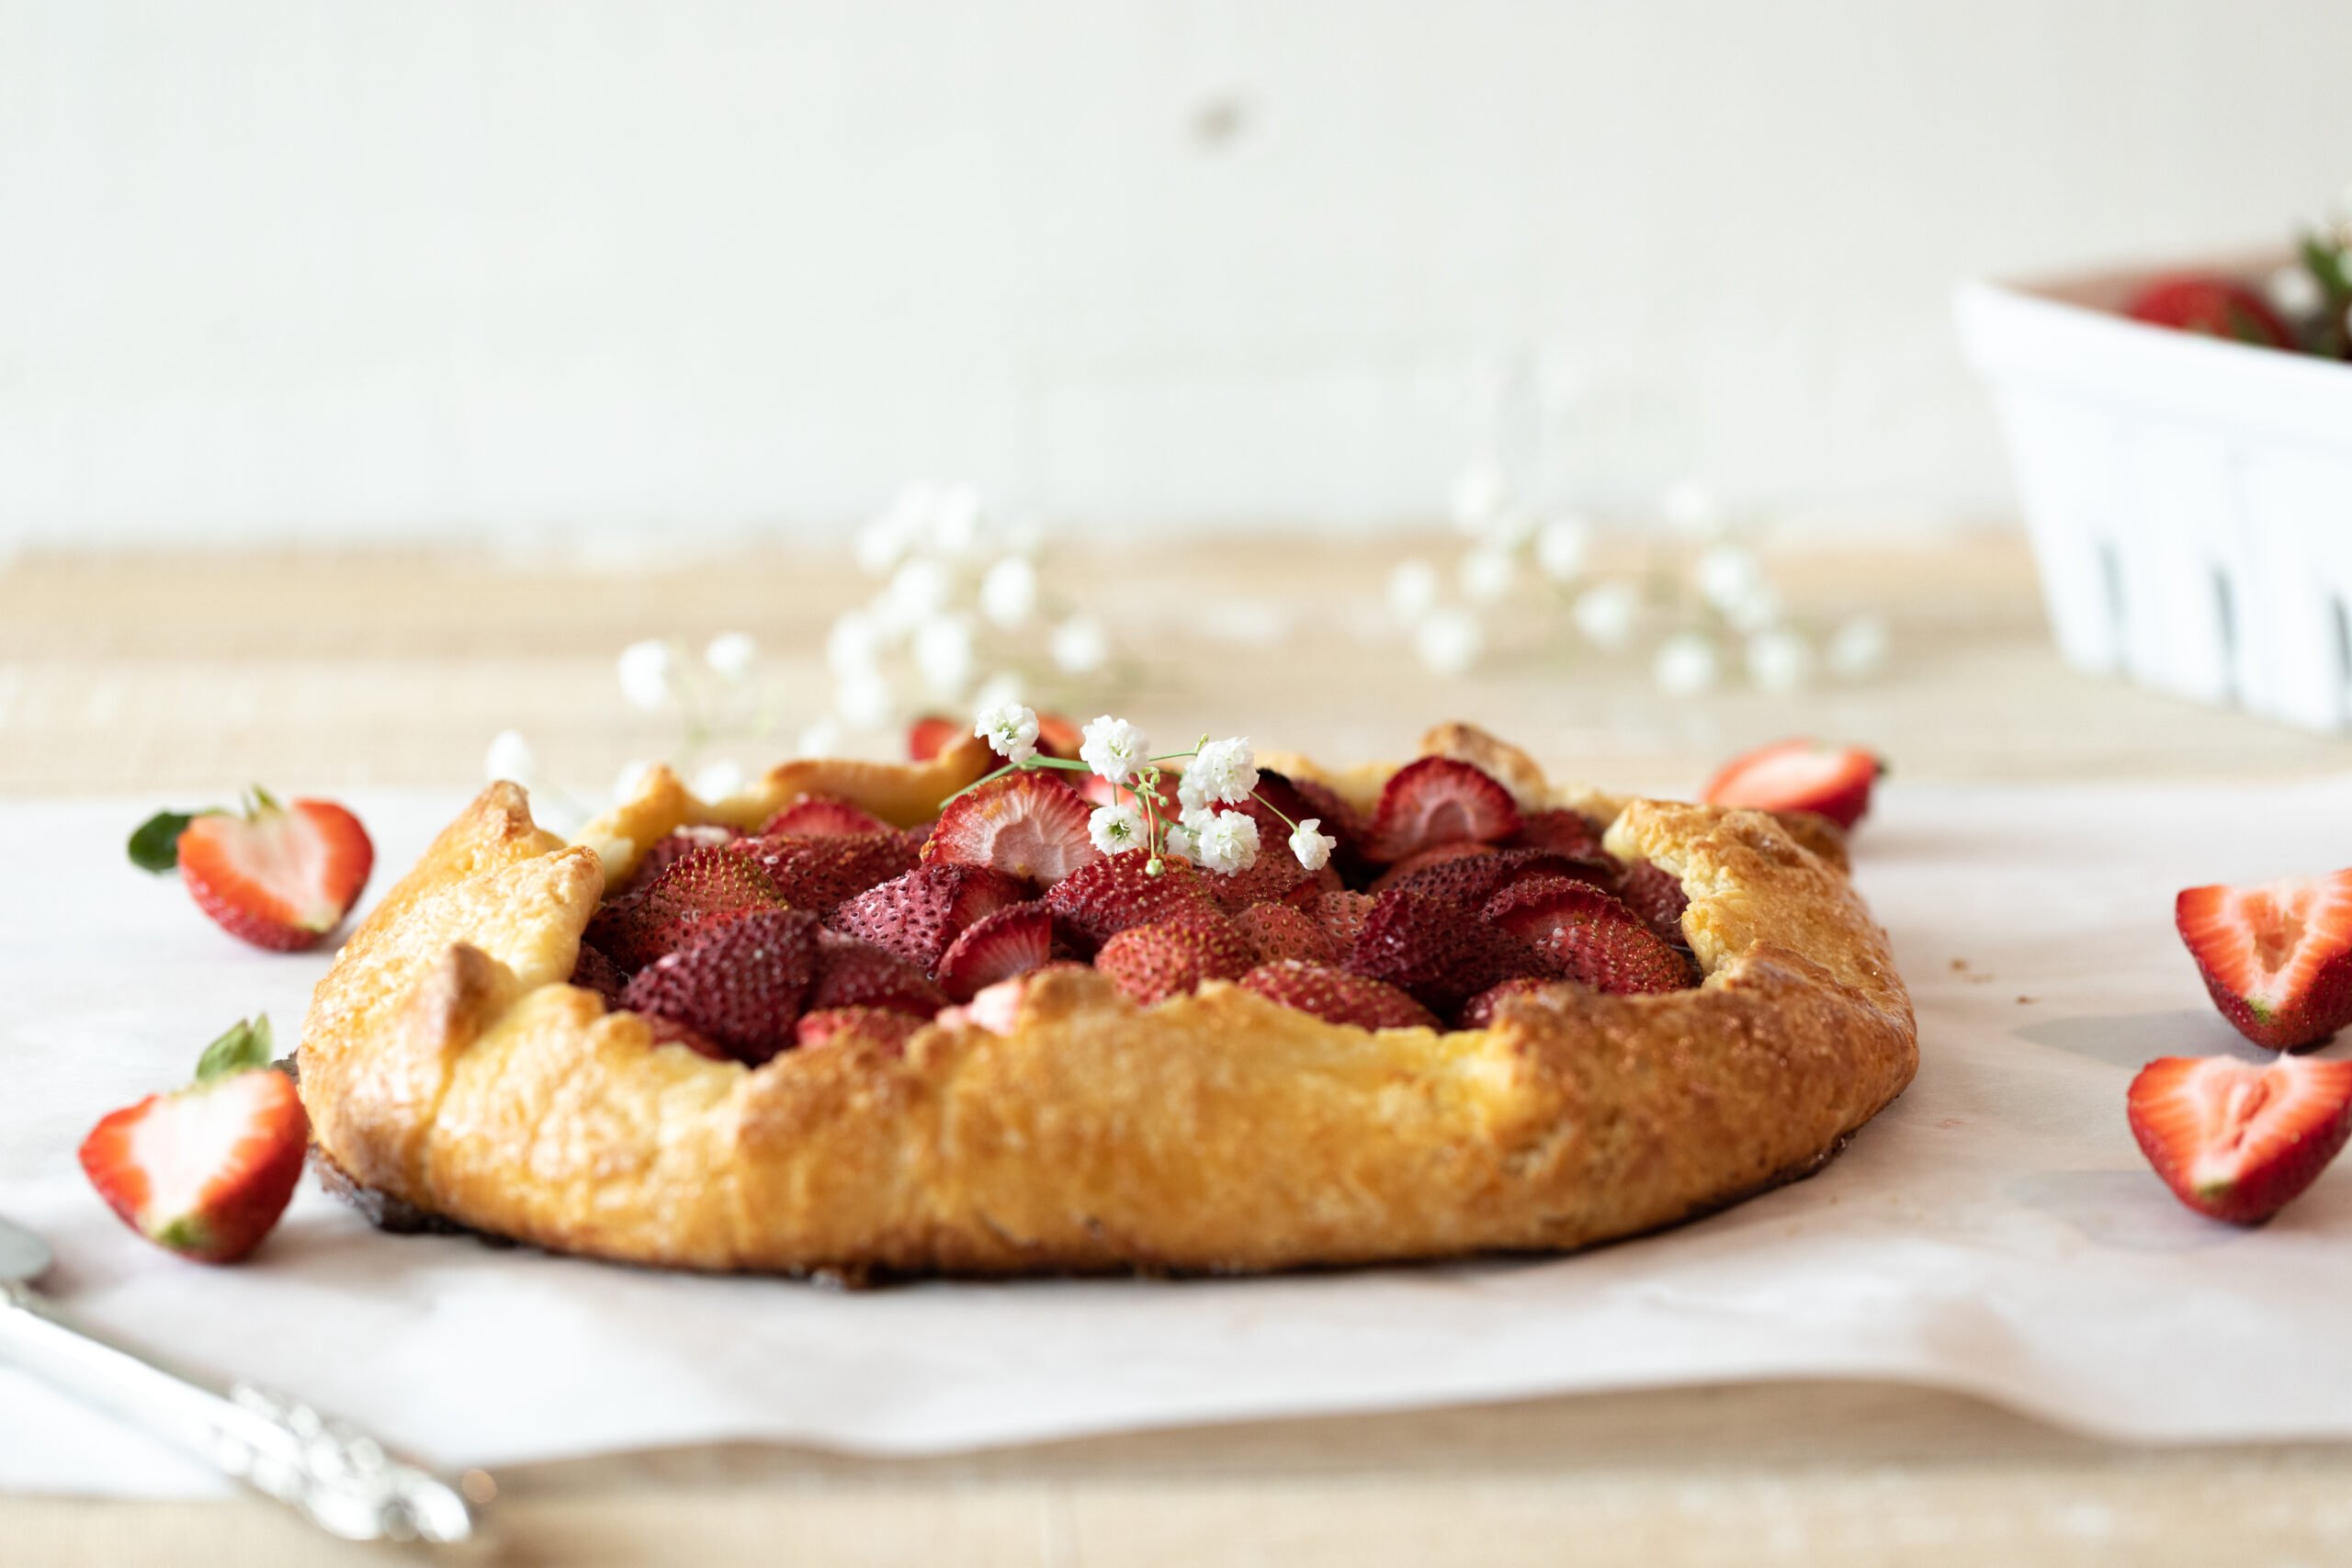
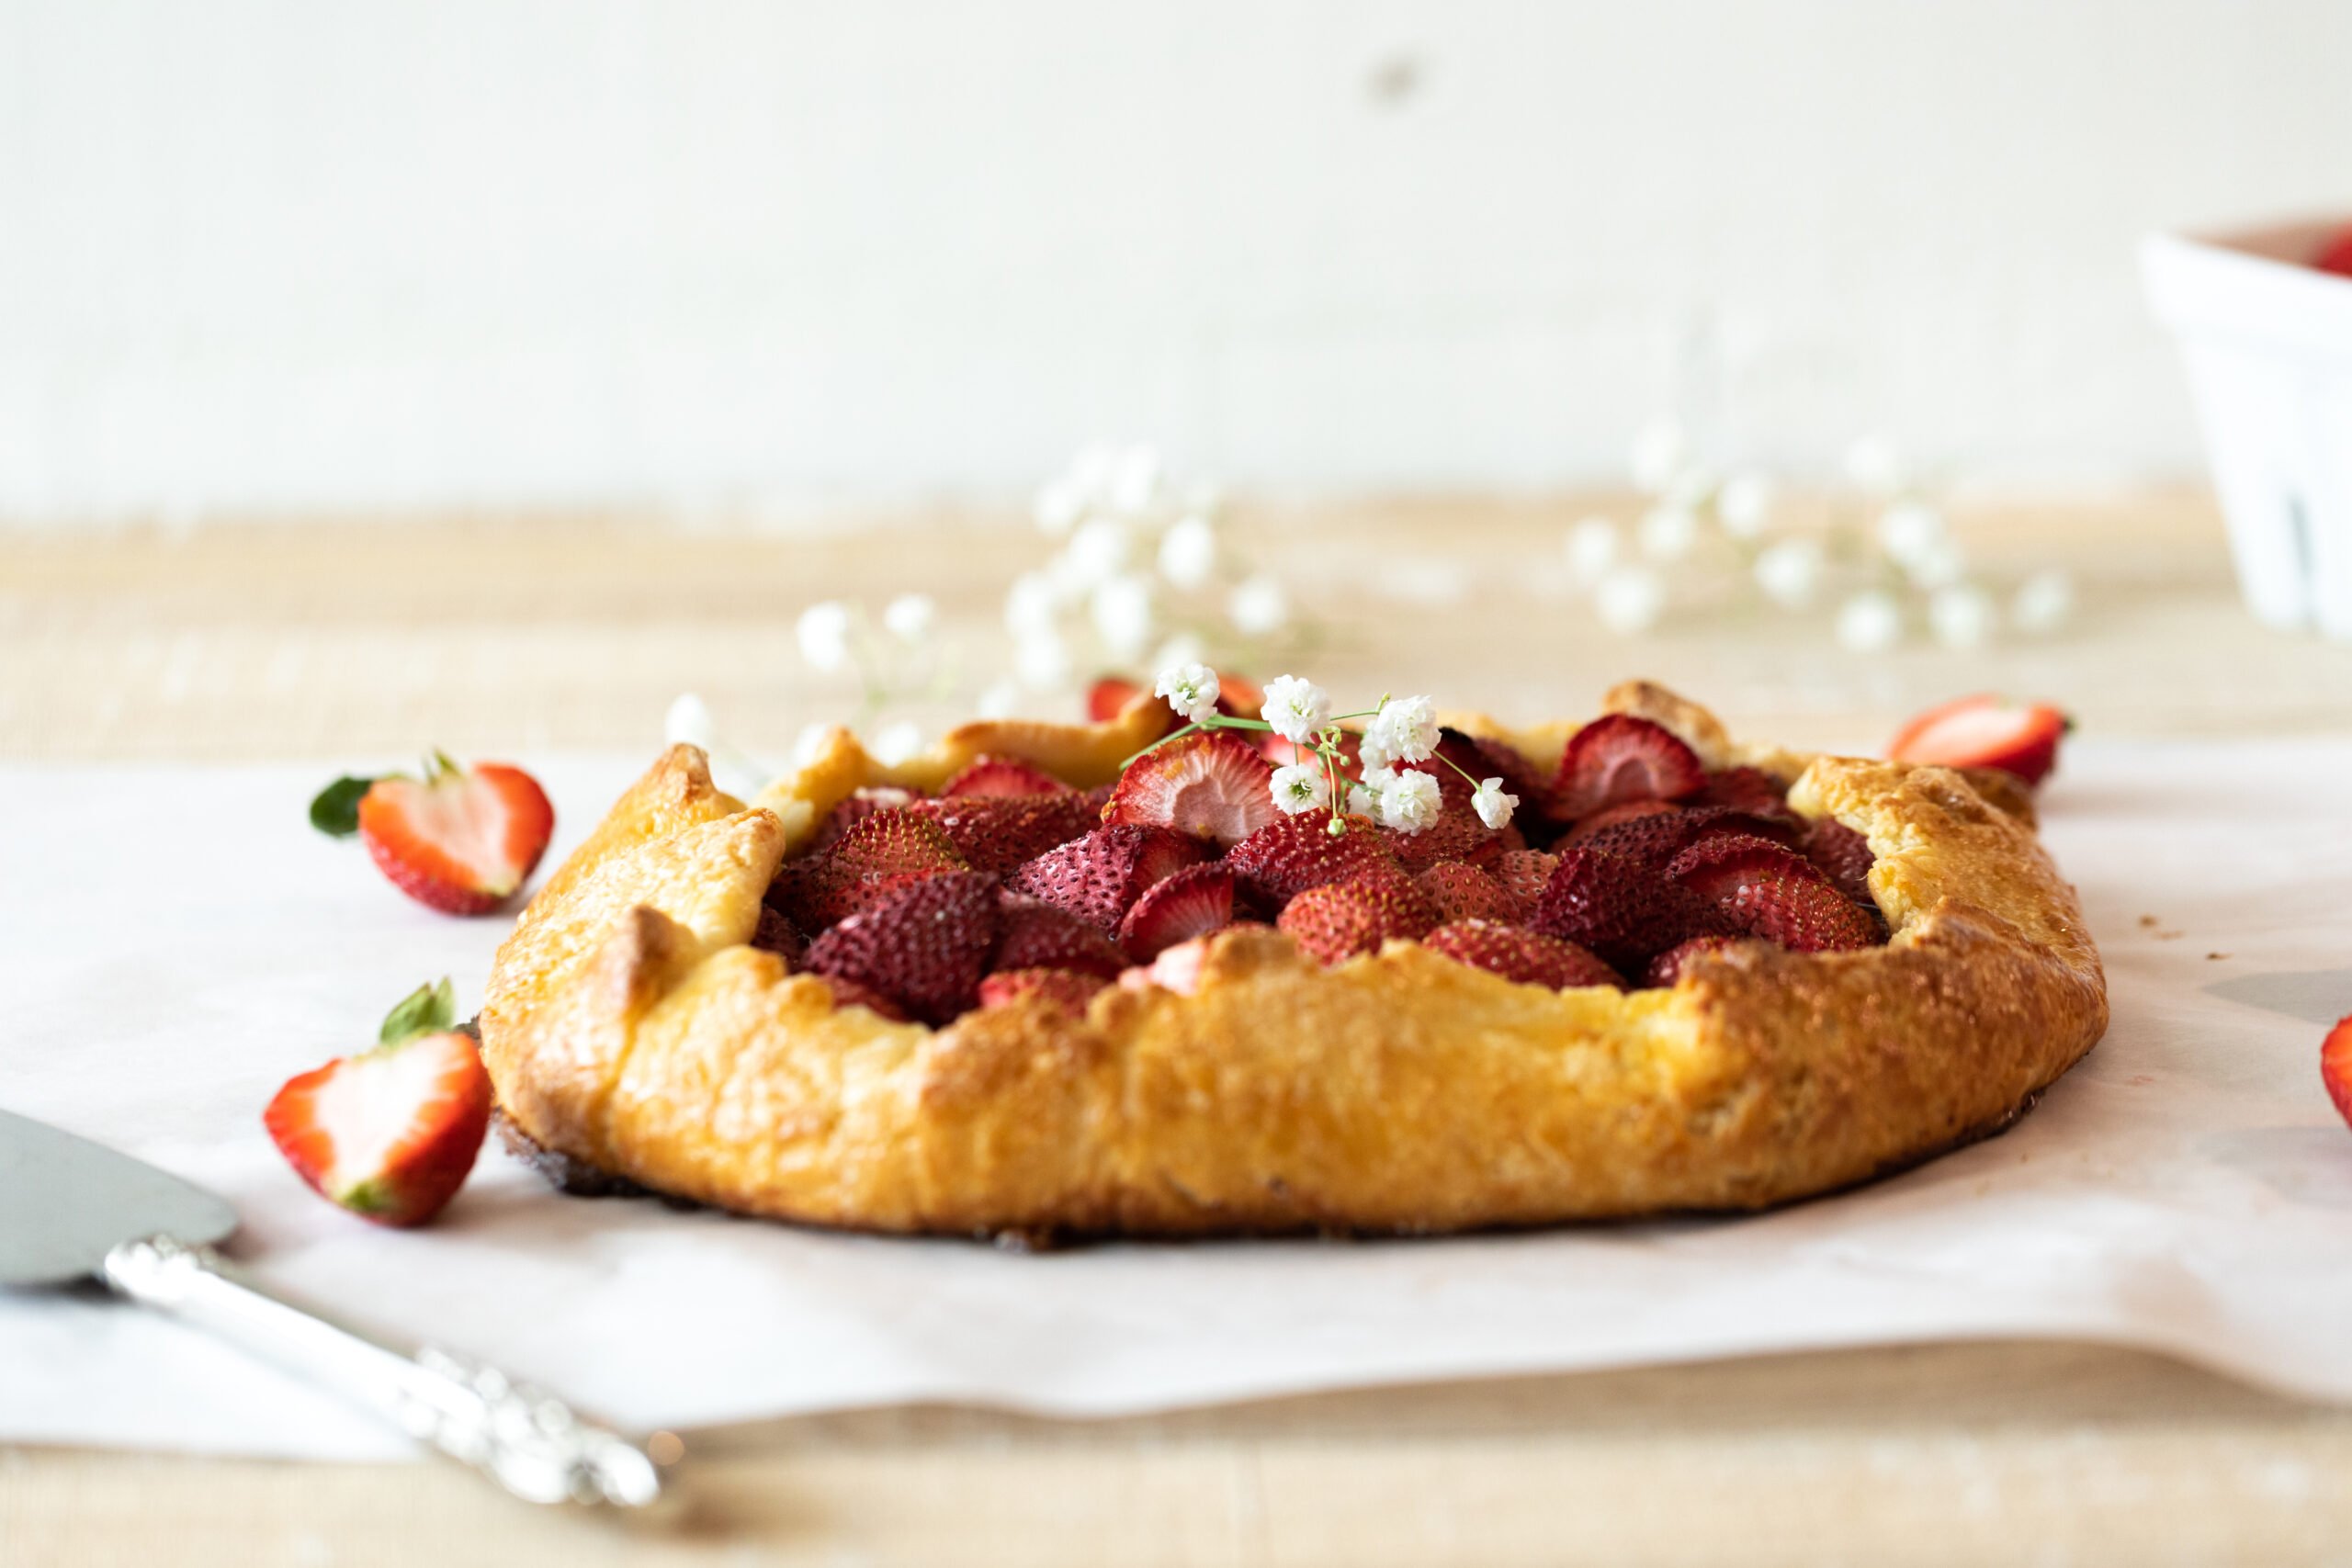
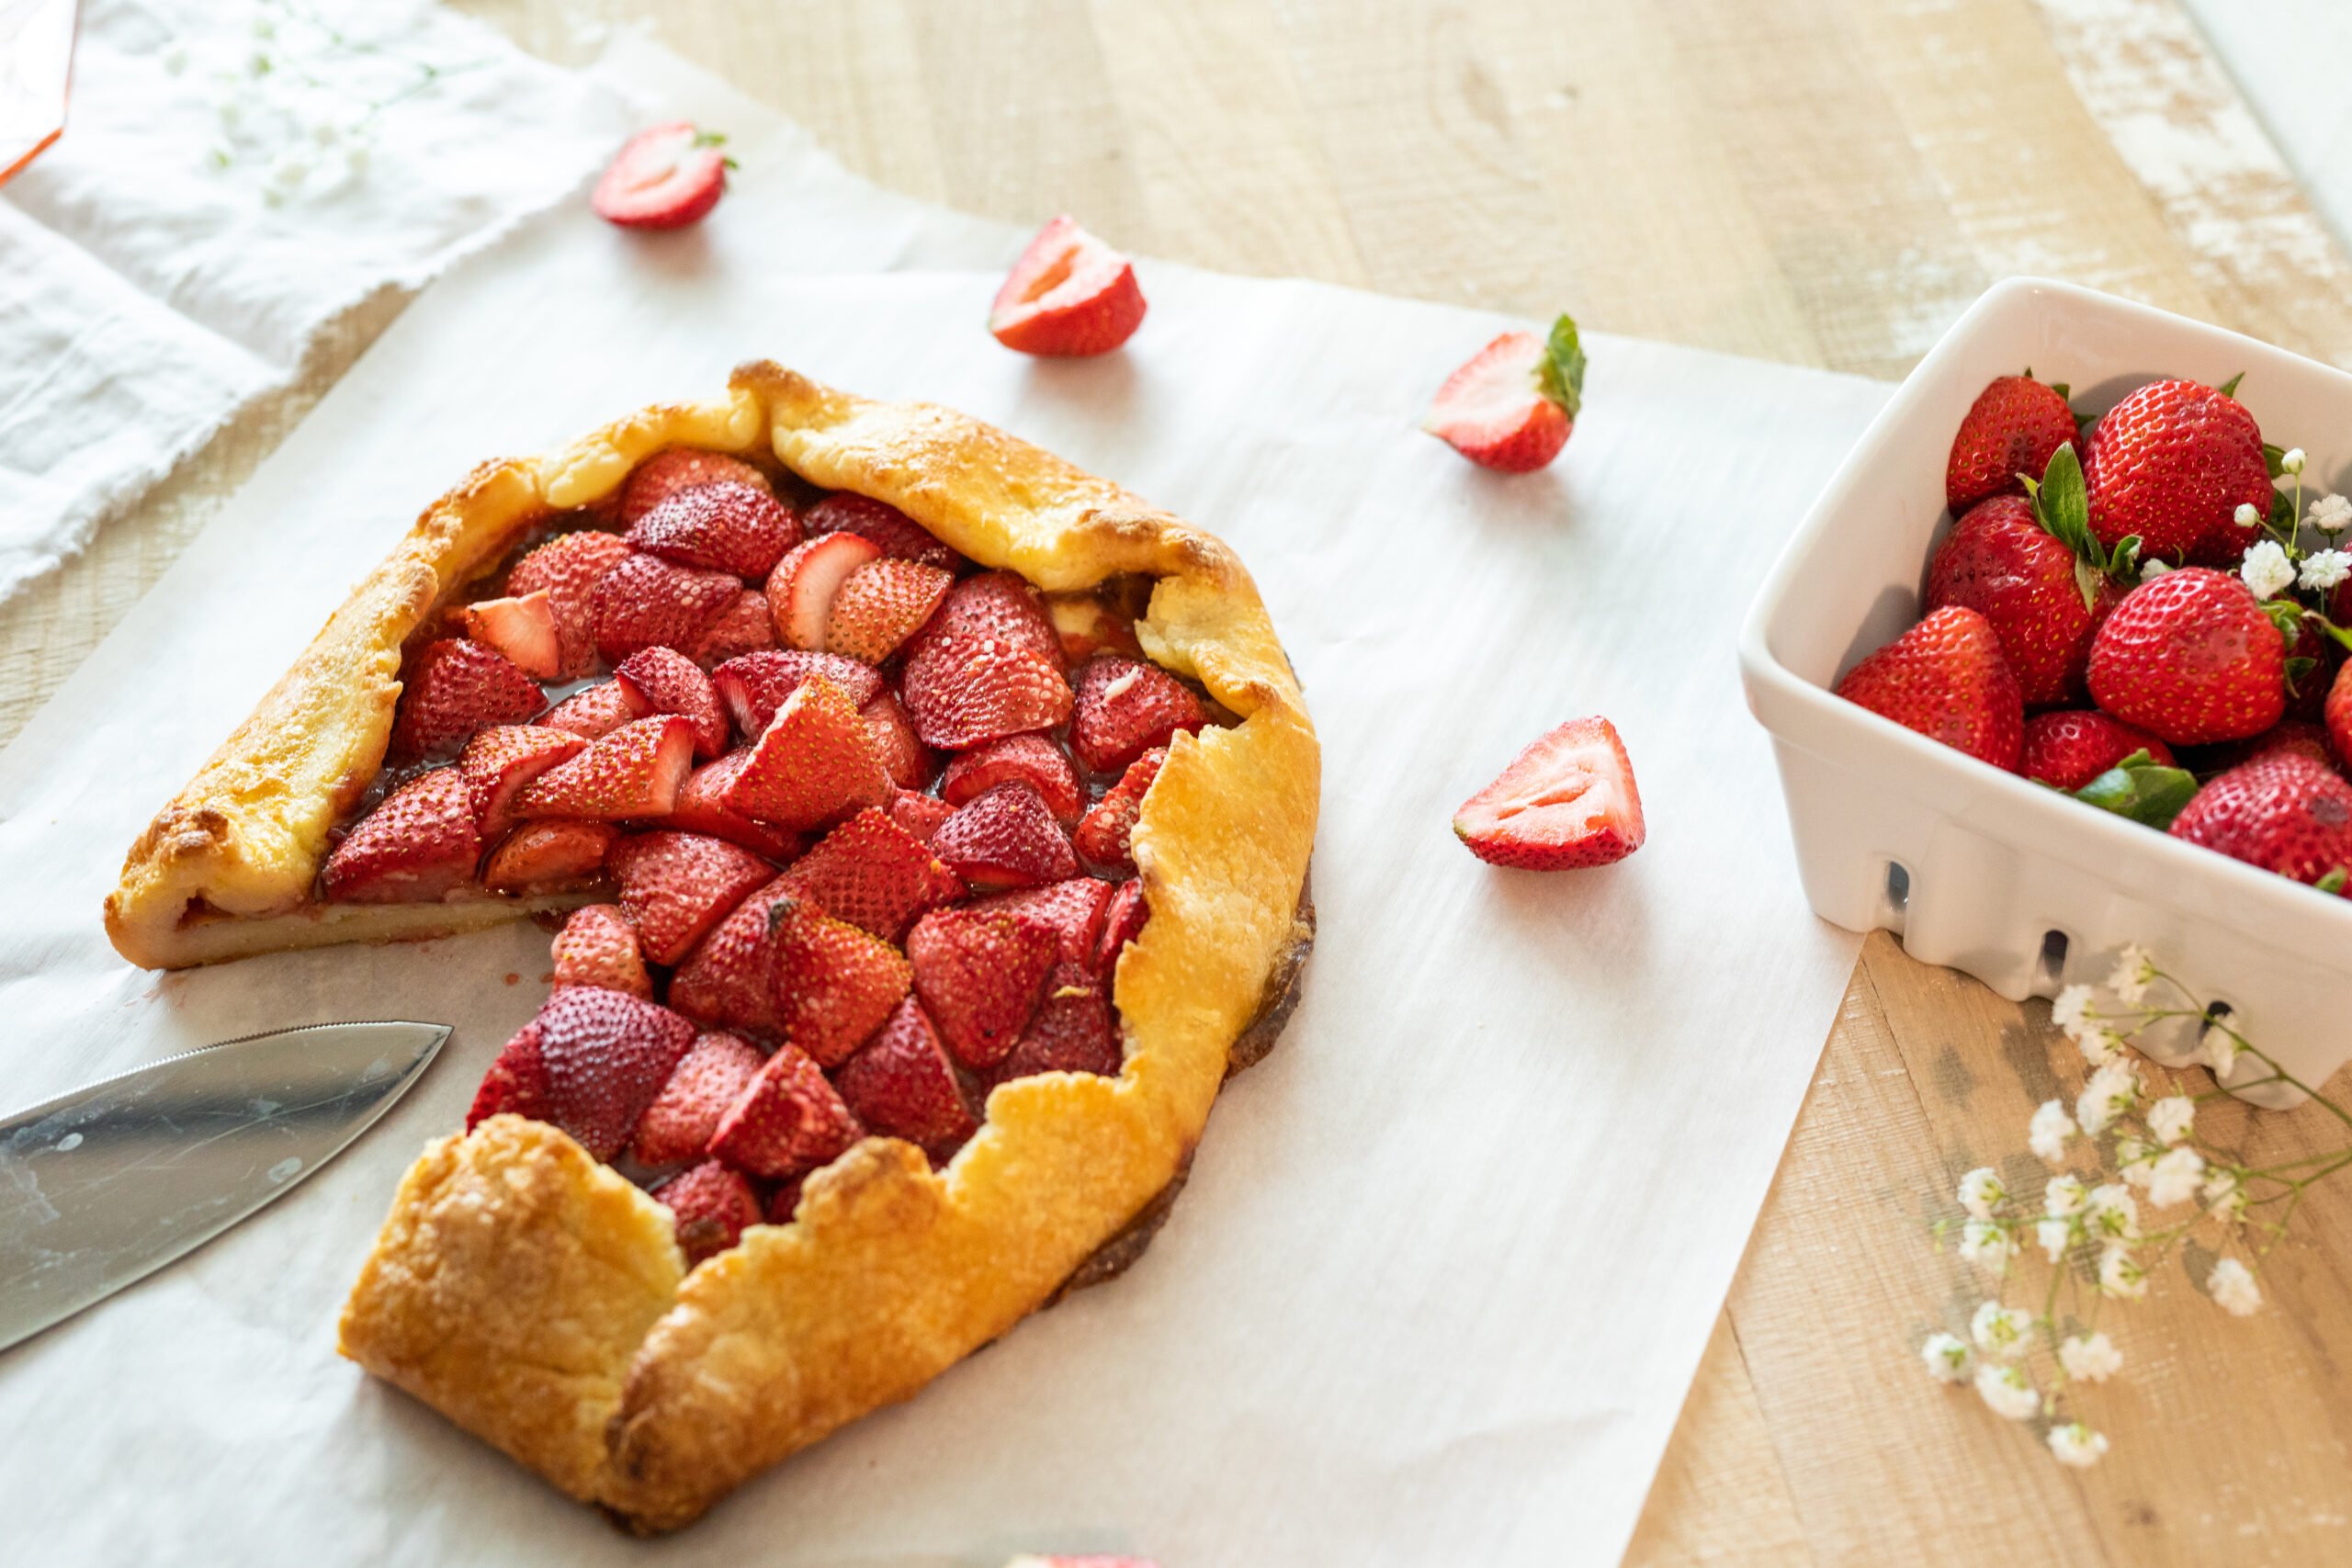
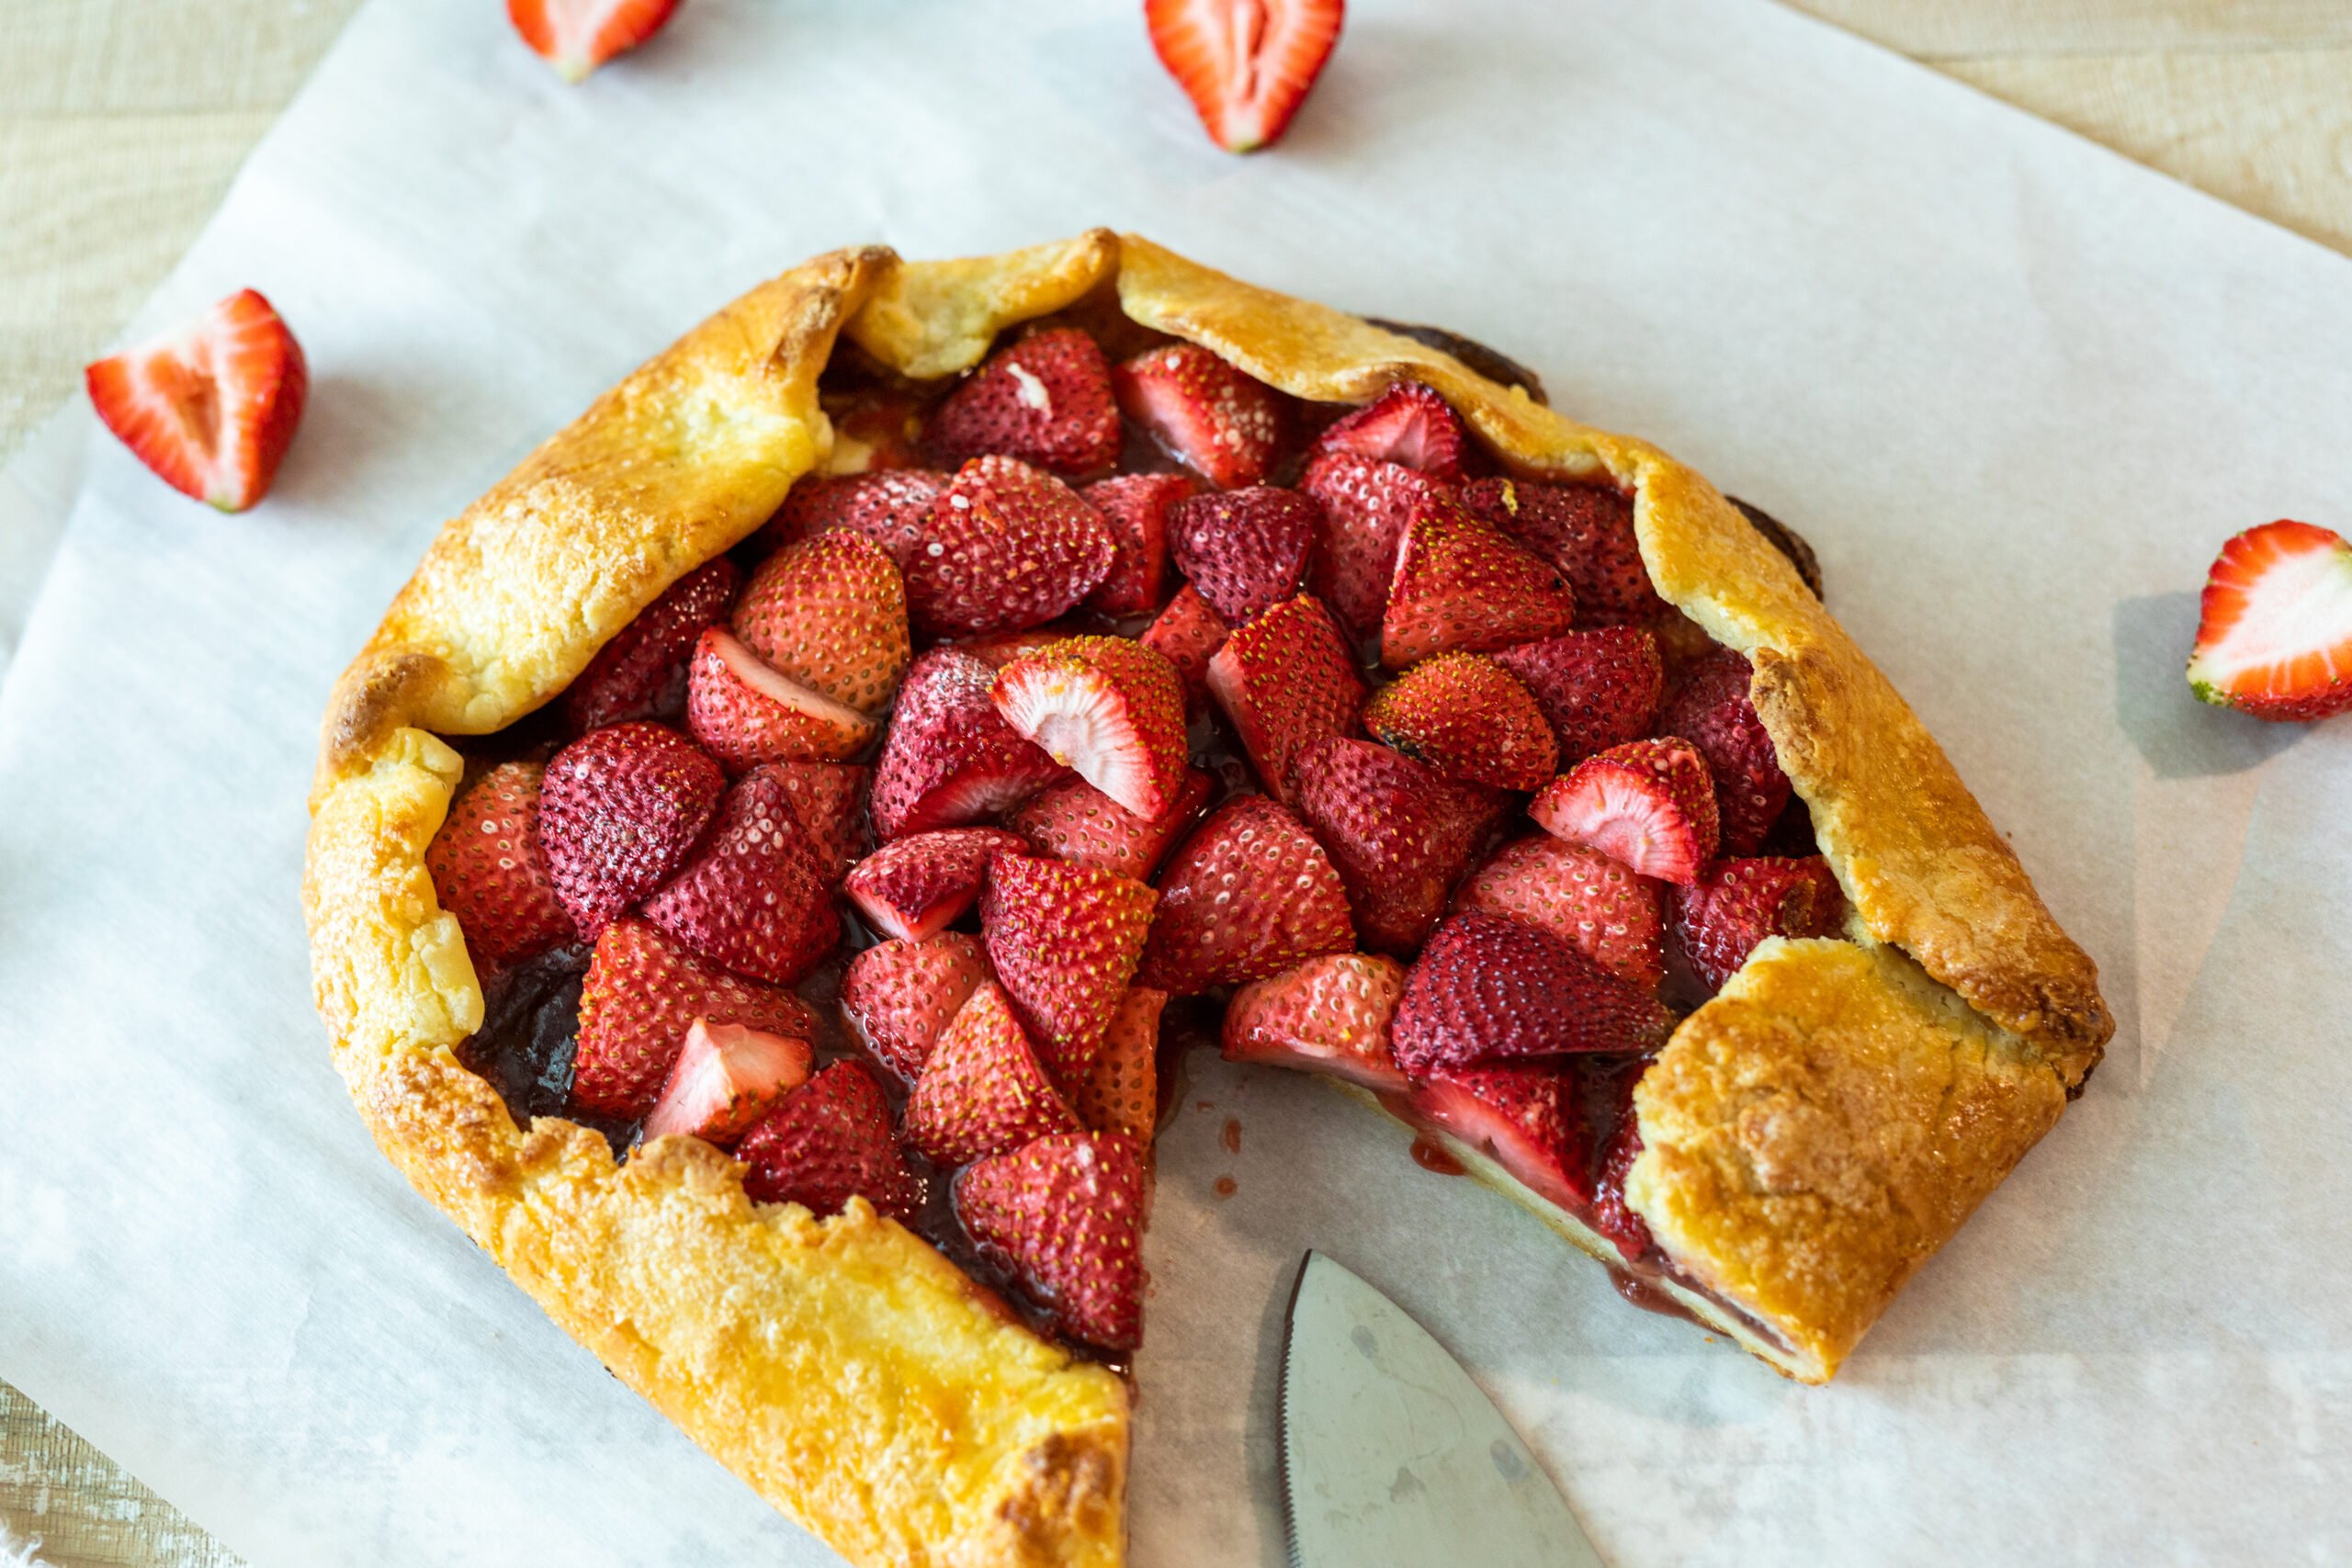
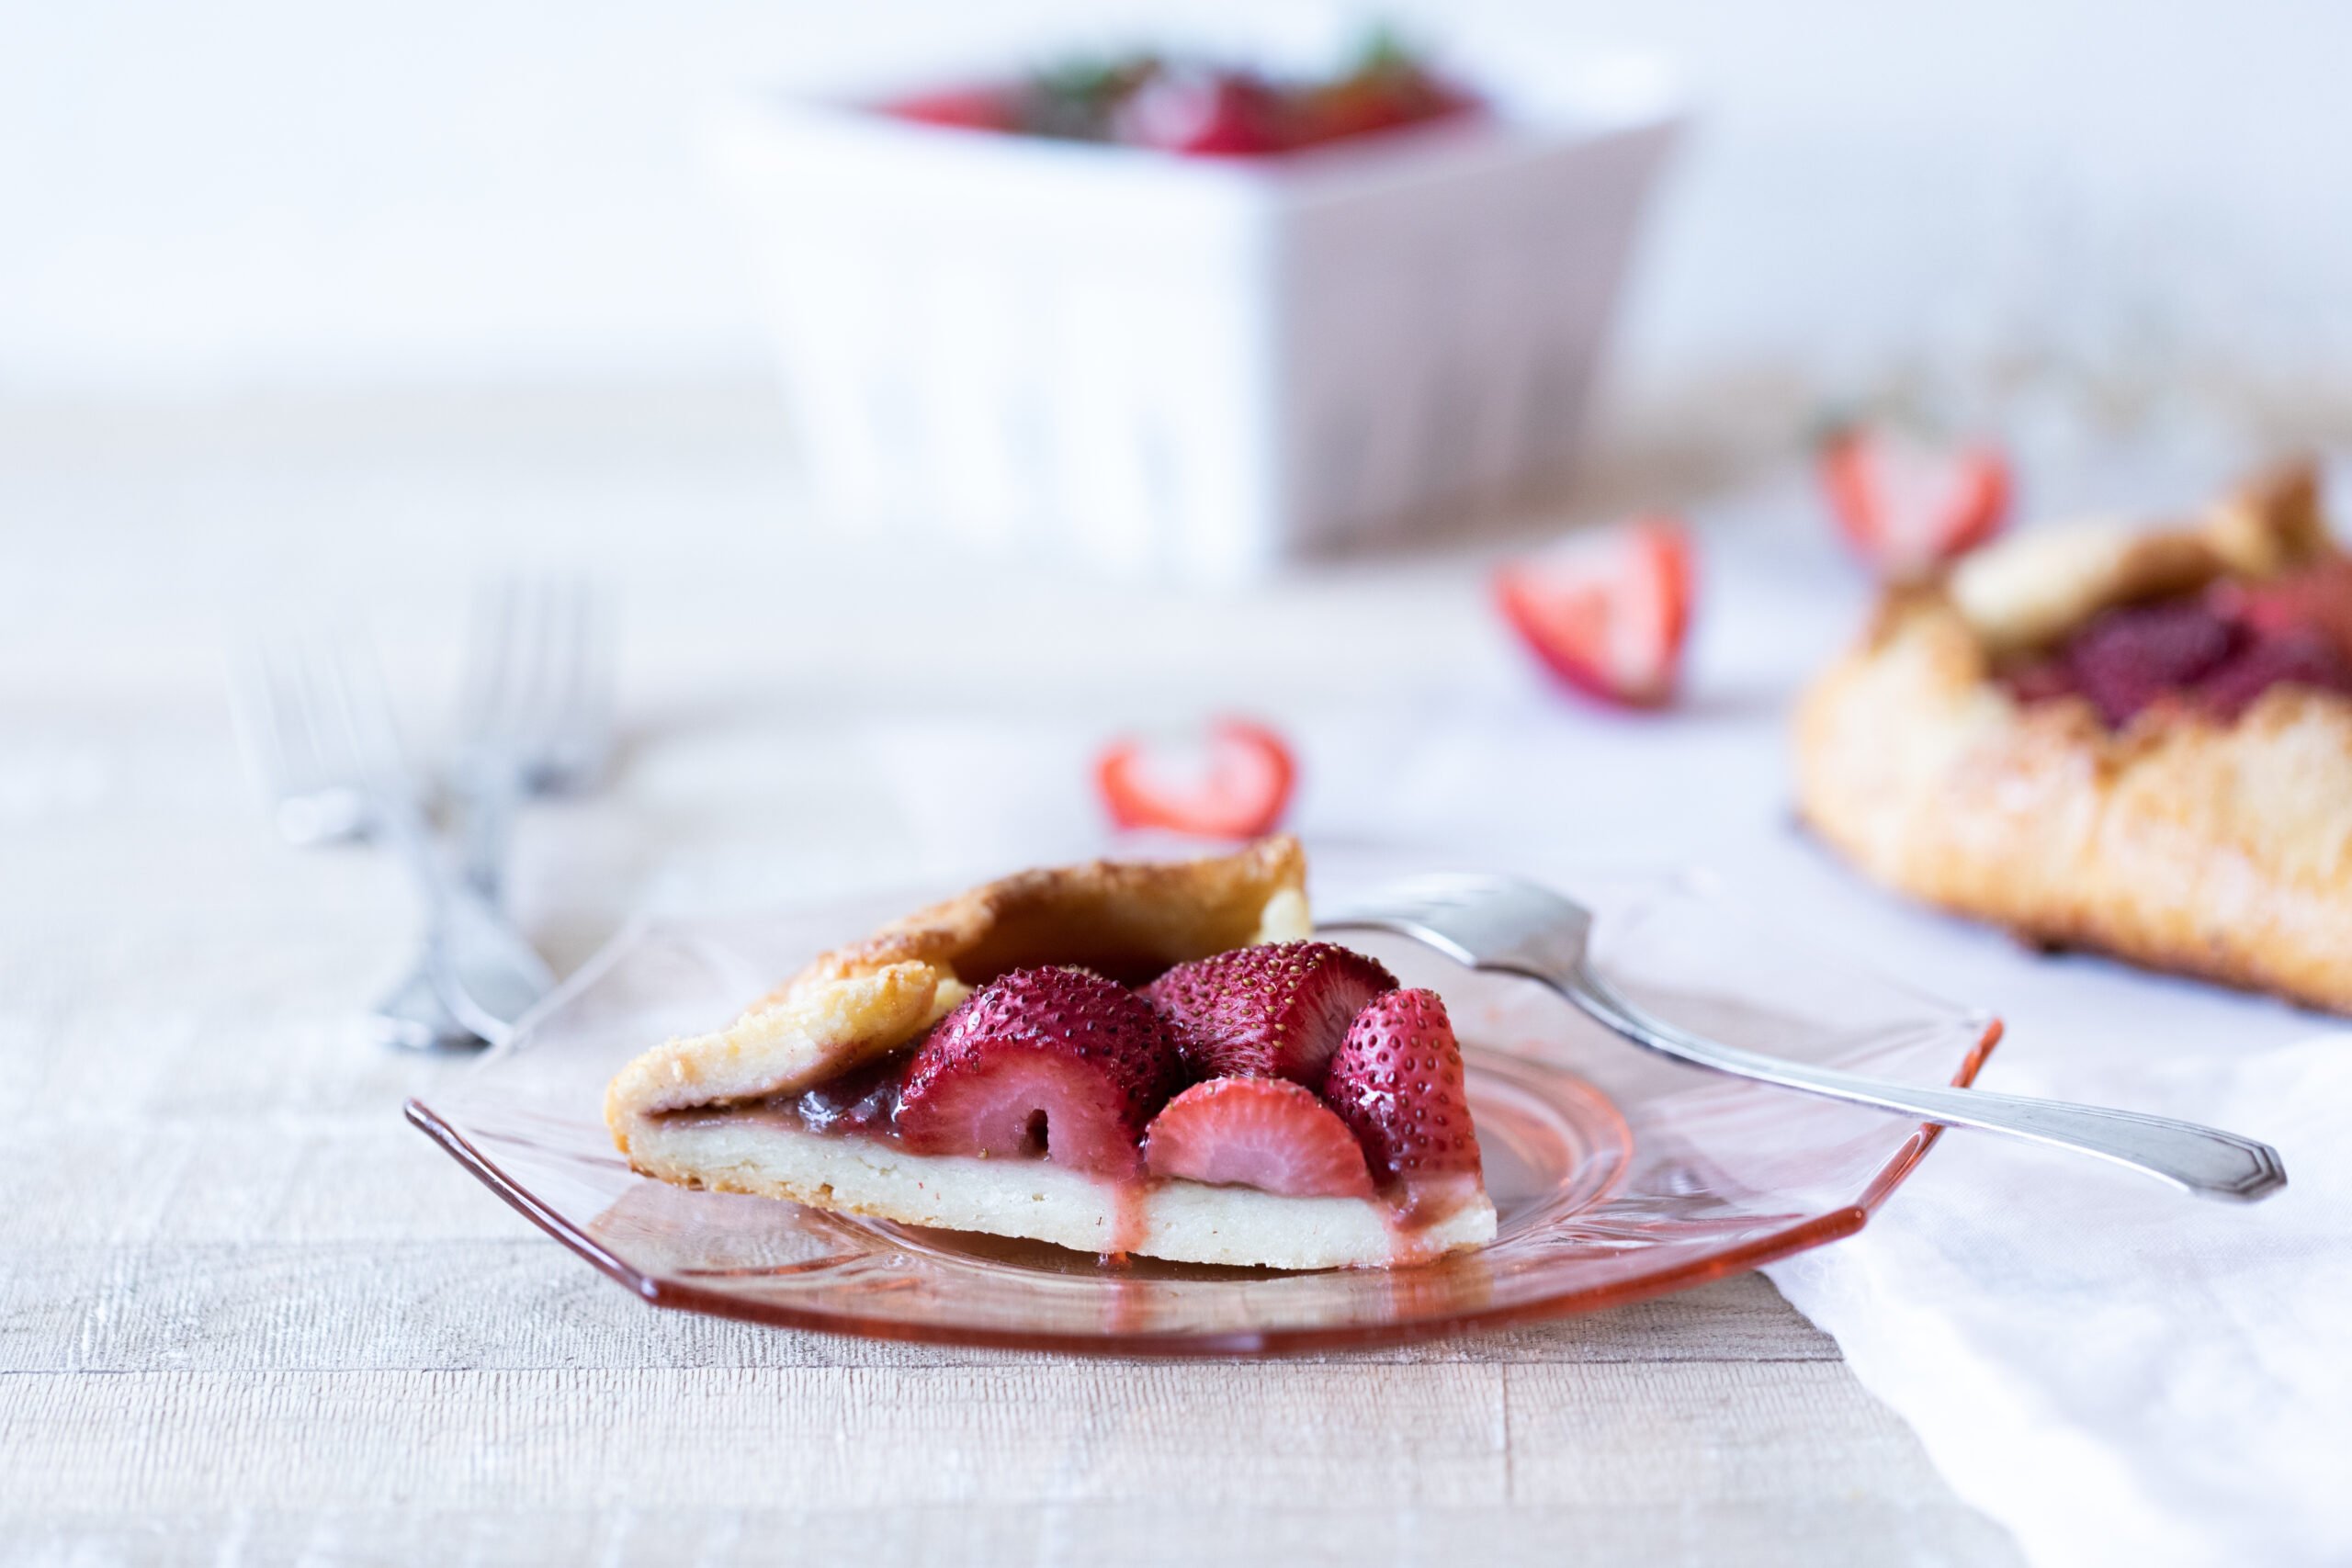
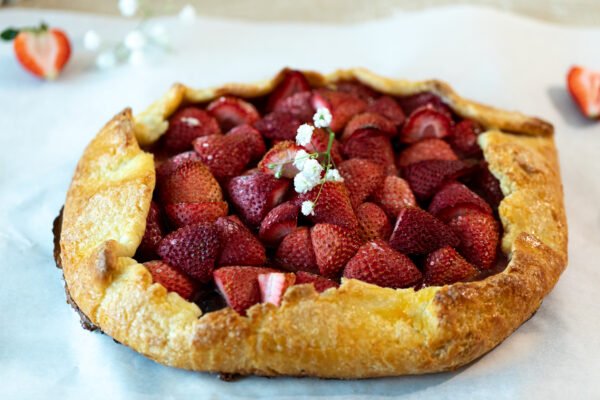
Fresh and sweet filling with a flaky crust that’s home-made. Gluten-free Strawberry Galette with jam is begging to be on your table. Not only is this dessert gorgeous, its relatively easy to make at home. Honestly, this stunning treat is a winner every time.
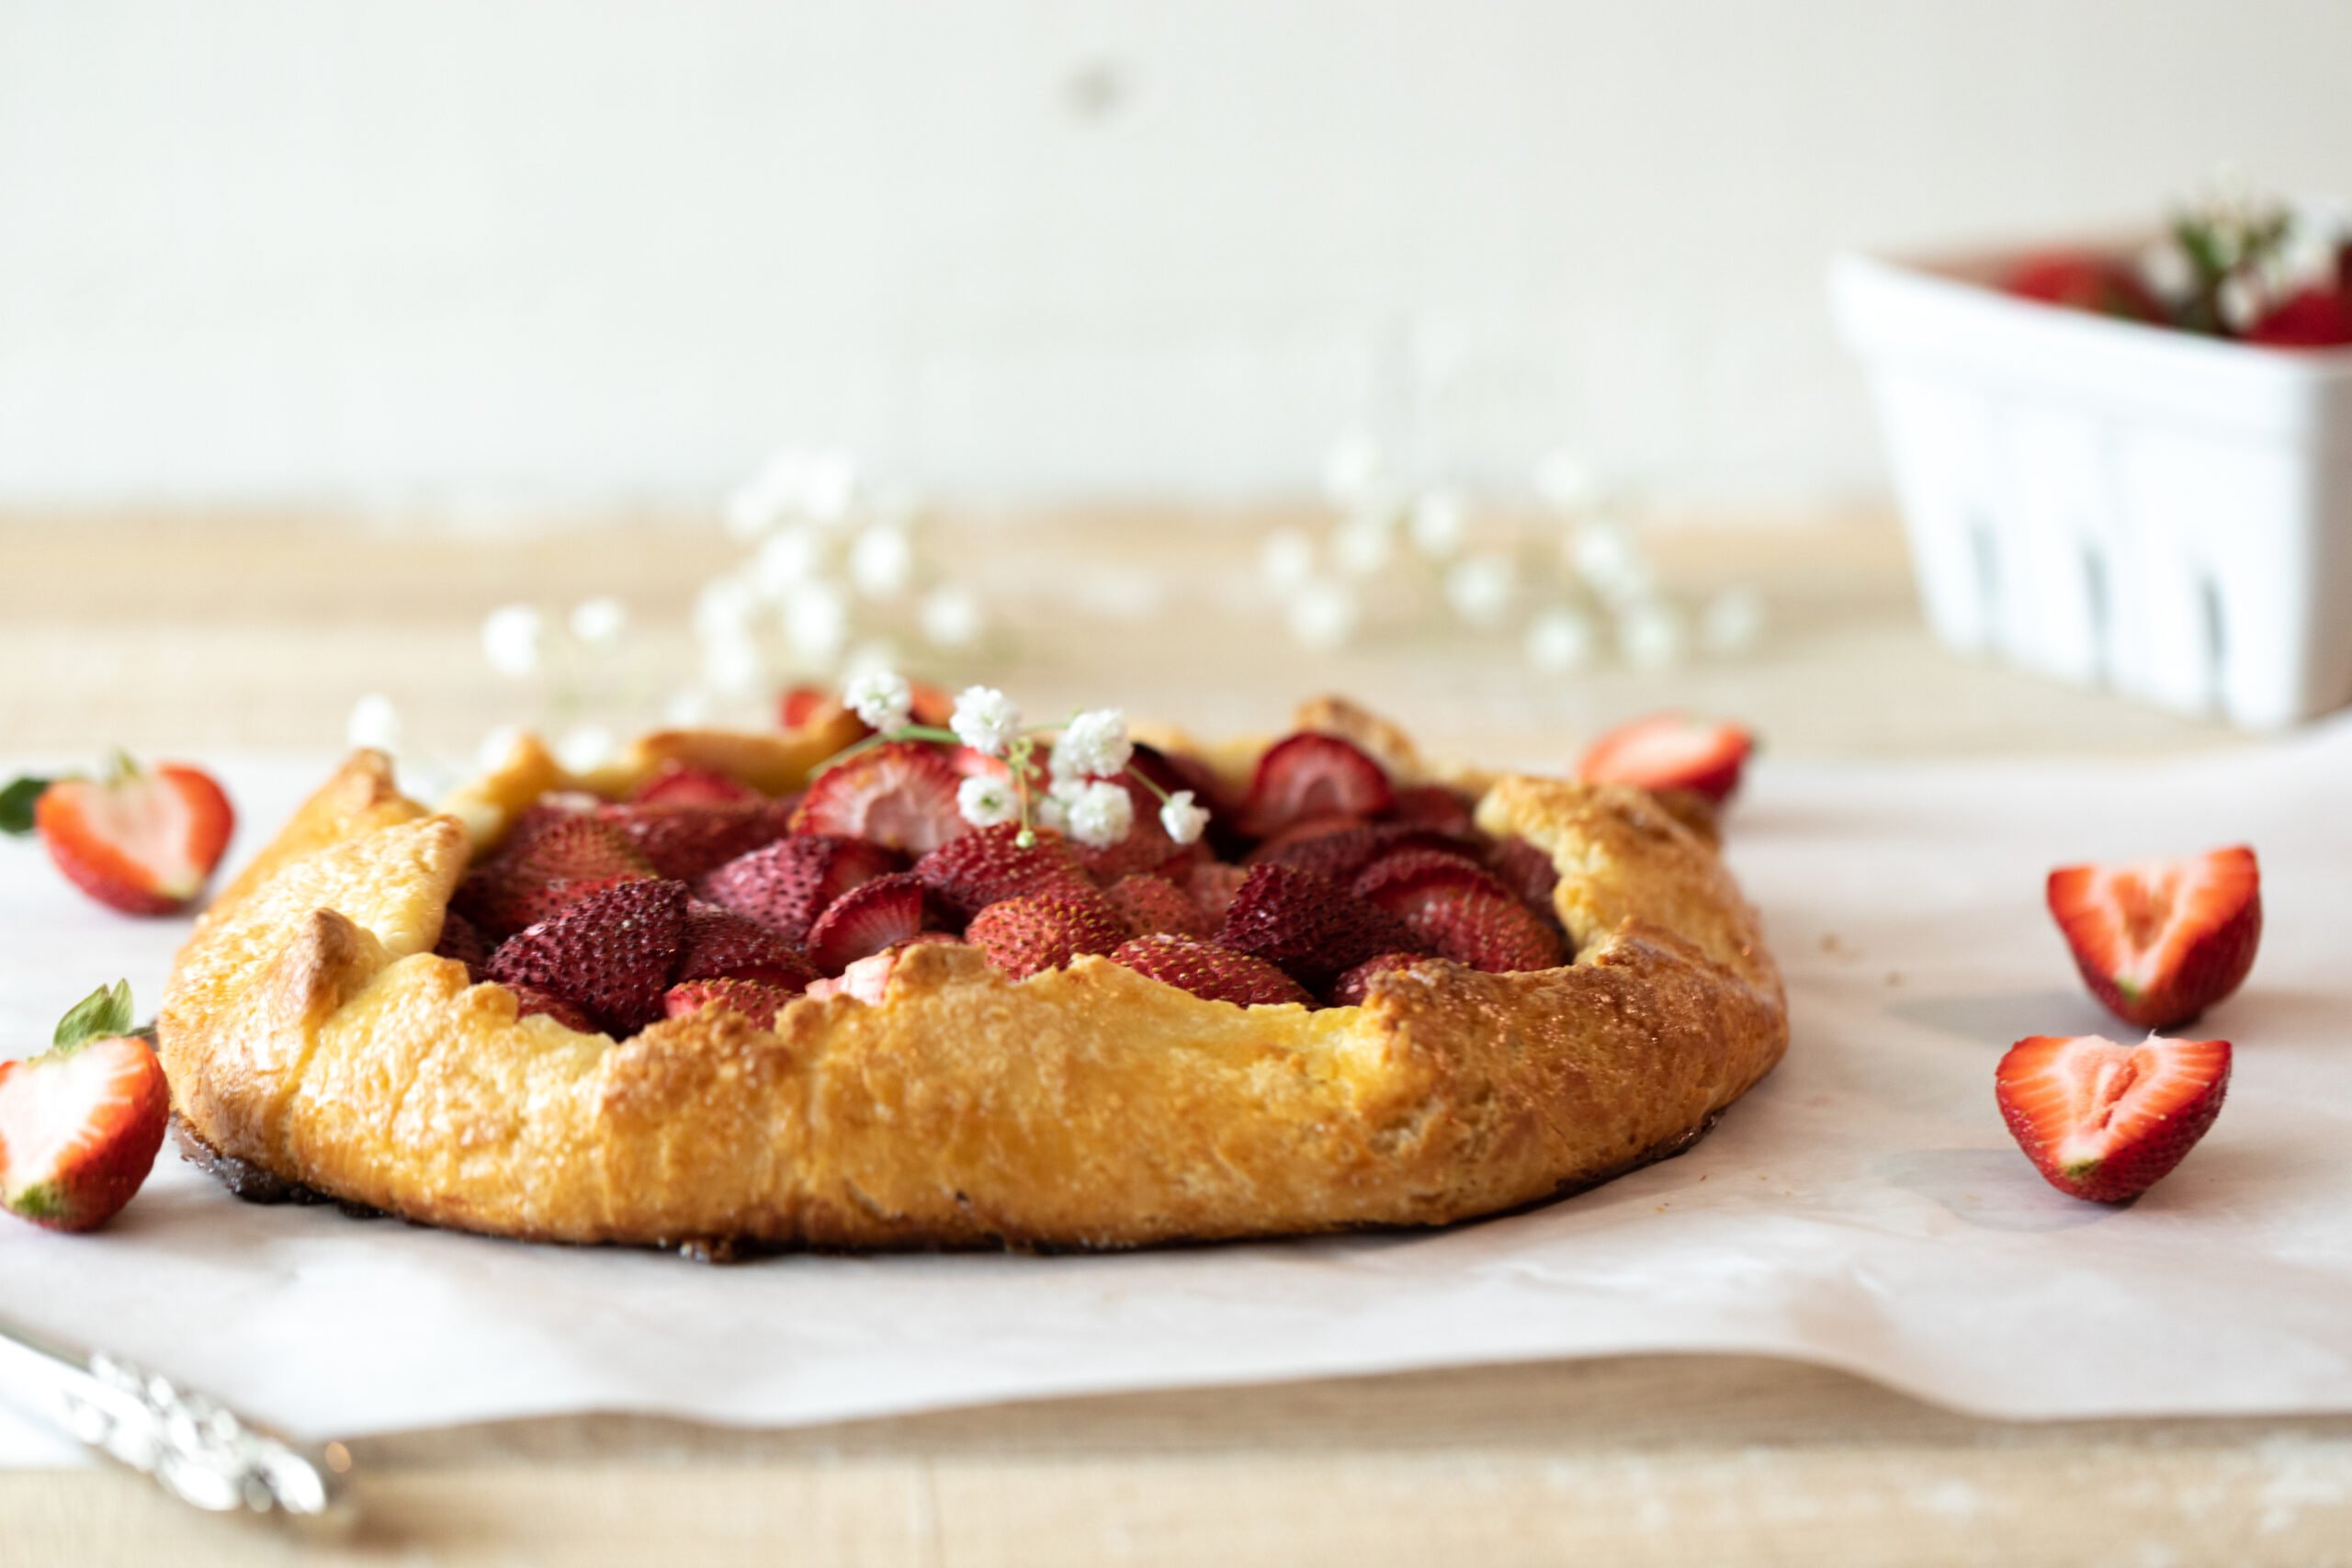
I cannot believe that May is almost over. The plus is we’re heading straight on into summer. Yay!!! Speaking of which, summer means that all of the juicy, sweet and utterly delicious berries are popping everywhere. So, this is the perfect recipe to share with you all, as we really need to celebrate seasonal fruits and berries.
Gluten-free Strawberry Galette with jam is a perfect treat for this time of year. Fresh strawberries and a home-made flaky crust. What could be better than that? This galette is so gorgeous and rustic. This recipe is really great for any in season fruits you have and need to use up. Or, just go to your local farmer’s market or grocery store to buy your favorite fruits for your own galette. The great thing is that you can use most fruits for a galette dessert.
WHAT IS A GLUTEN-FREE STRAWBERRY GALETTE WITH JAM?
Galette is a term used by the French in which a flat round cake of pastry is topped with fruit. A galette is a French pastry similar to a tart or a pie. This rustic summer dessert is as simple as pastry dough wrapped around fresh fruit. Similar to making a pie, but with much less effort, turning summer fruit into a galette at home will make you feel like the ultimate baker in your kitchen.
A galette is an easy tart to make at home. To sum it up, a galette is a home-made pie crust filled with fresh fruit and baked to golden perfection. With galettes, the options are endless. You can make them sweet or savory. These are great any day of the year, but are really something special for the holidays. The red really brings out the spirit of Christmas.
For one thing, this recipe is great any time of the year. As we go into summer, some of my favorite desserts are Russian Cream and gluten-free Strawberry Shortcakes. What could be better on a hot summer day?
In particular, there are a few pie-making rules that will help you make the most gorgeous and scrumptious galette of this summer. But do not fret- I’m gonna walk you through all the steps. This way, the next time you’re craving a fruit dessert, you can make this with confidence.
HOW TO MAKE HOME-MADE DOUGH?
Firstly, you do not need a special pan for this. A baking sheet with parchment paper is all you need. Galette dough is very similar to pie dough. It starts with a combination of flour, a little sugar, butter or shortening, and just enough milk to bring things together. Not all gluten-free flours are created equal.
Galettes can be made by hand, but it’s easily mixed in a food processor as well. Mix it similarly to how you might mix a pie dough: combine dry ingredients first with a few pulses then cold cubed butter. Don’t worry about clumps of butter-lumps of butter are totally ok in a galette.
HOW TO PREPARE FRESH FRUIT FOR THIS GALETTE-
Similarly, just like pies, galettes can use nearly any fruit. They can even be made savory with vegetables and cheese. Once the fruit is sliced, toss it with a mixture of sugar and cornstarch to help absorb some of the moisture. The cornstarch also helps thicken the filling.
The filling is another place to add more flavor. Lemon zest, spices, fresh herbs and mascarpone cheese can be thoughtful additions to a galette. Strawberries are honestly one of my favorite fruits. To me, there is nothing like a warm gluten-free Strawberry Galette with jam.
Due to the fact that you cannot pre-bake your crust, it is recommended that you brush the crust with an egg wash. A little jam works so well and I highly recommend you trying it. I use jam that has been thinned out with a little water to coat the crust because it adds flavor and can be used as a glaze.
ASSEMBLING THE GLUTEN-FREE STRAWBERRY GALETTE WITH JAM-
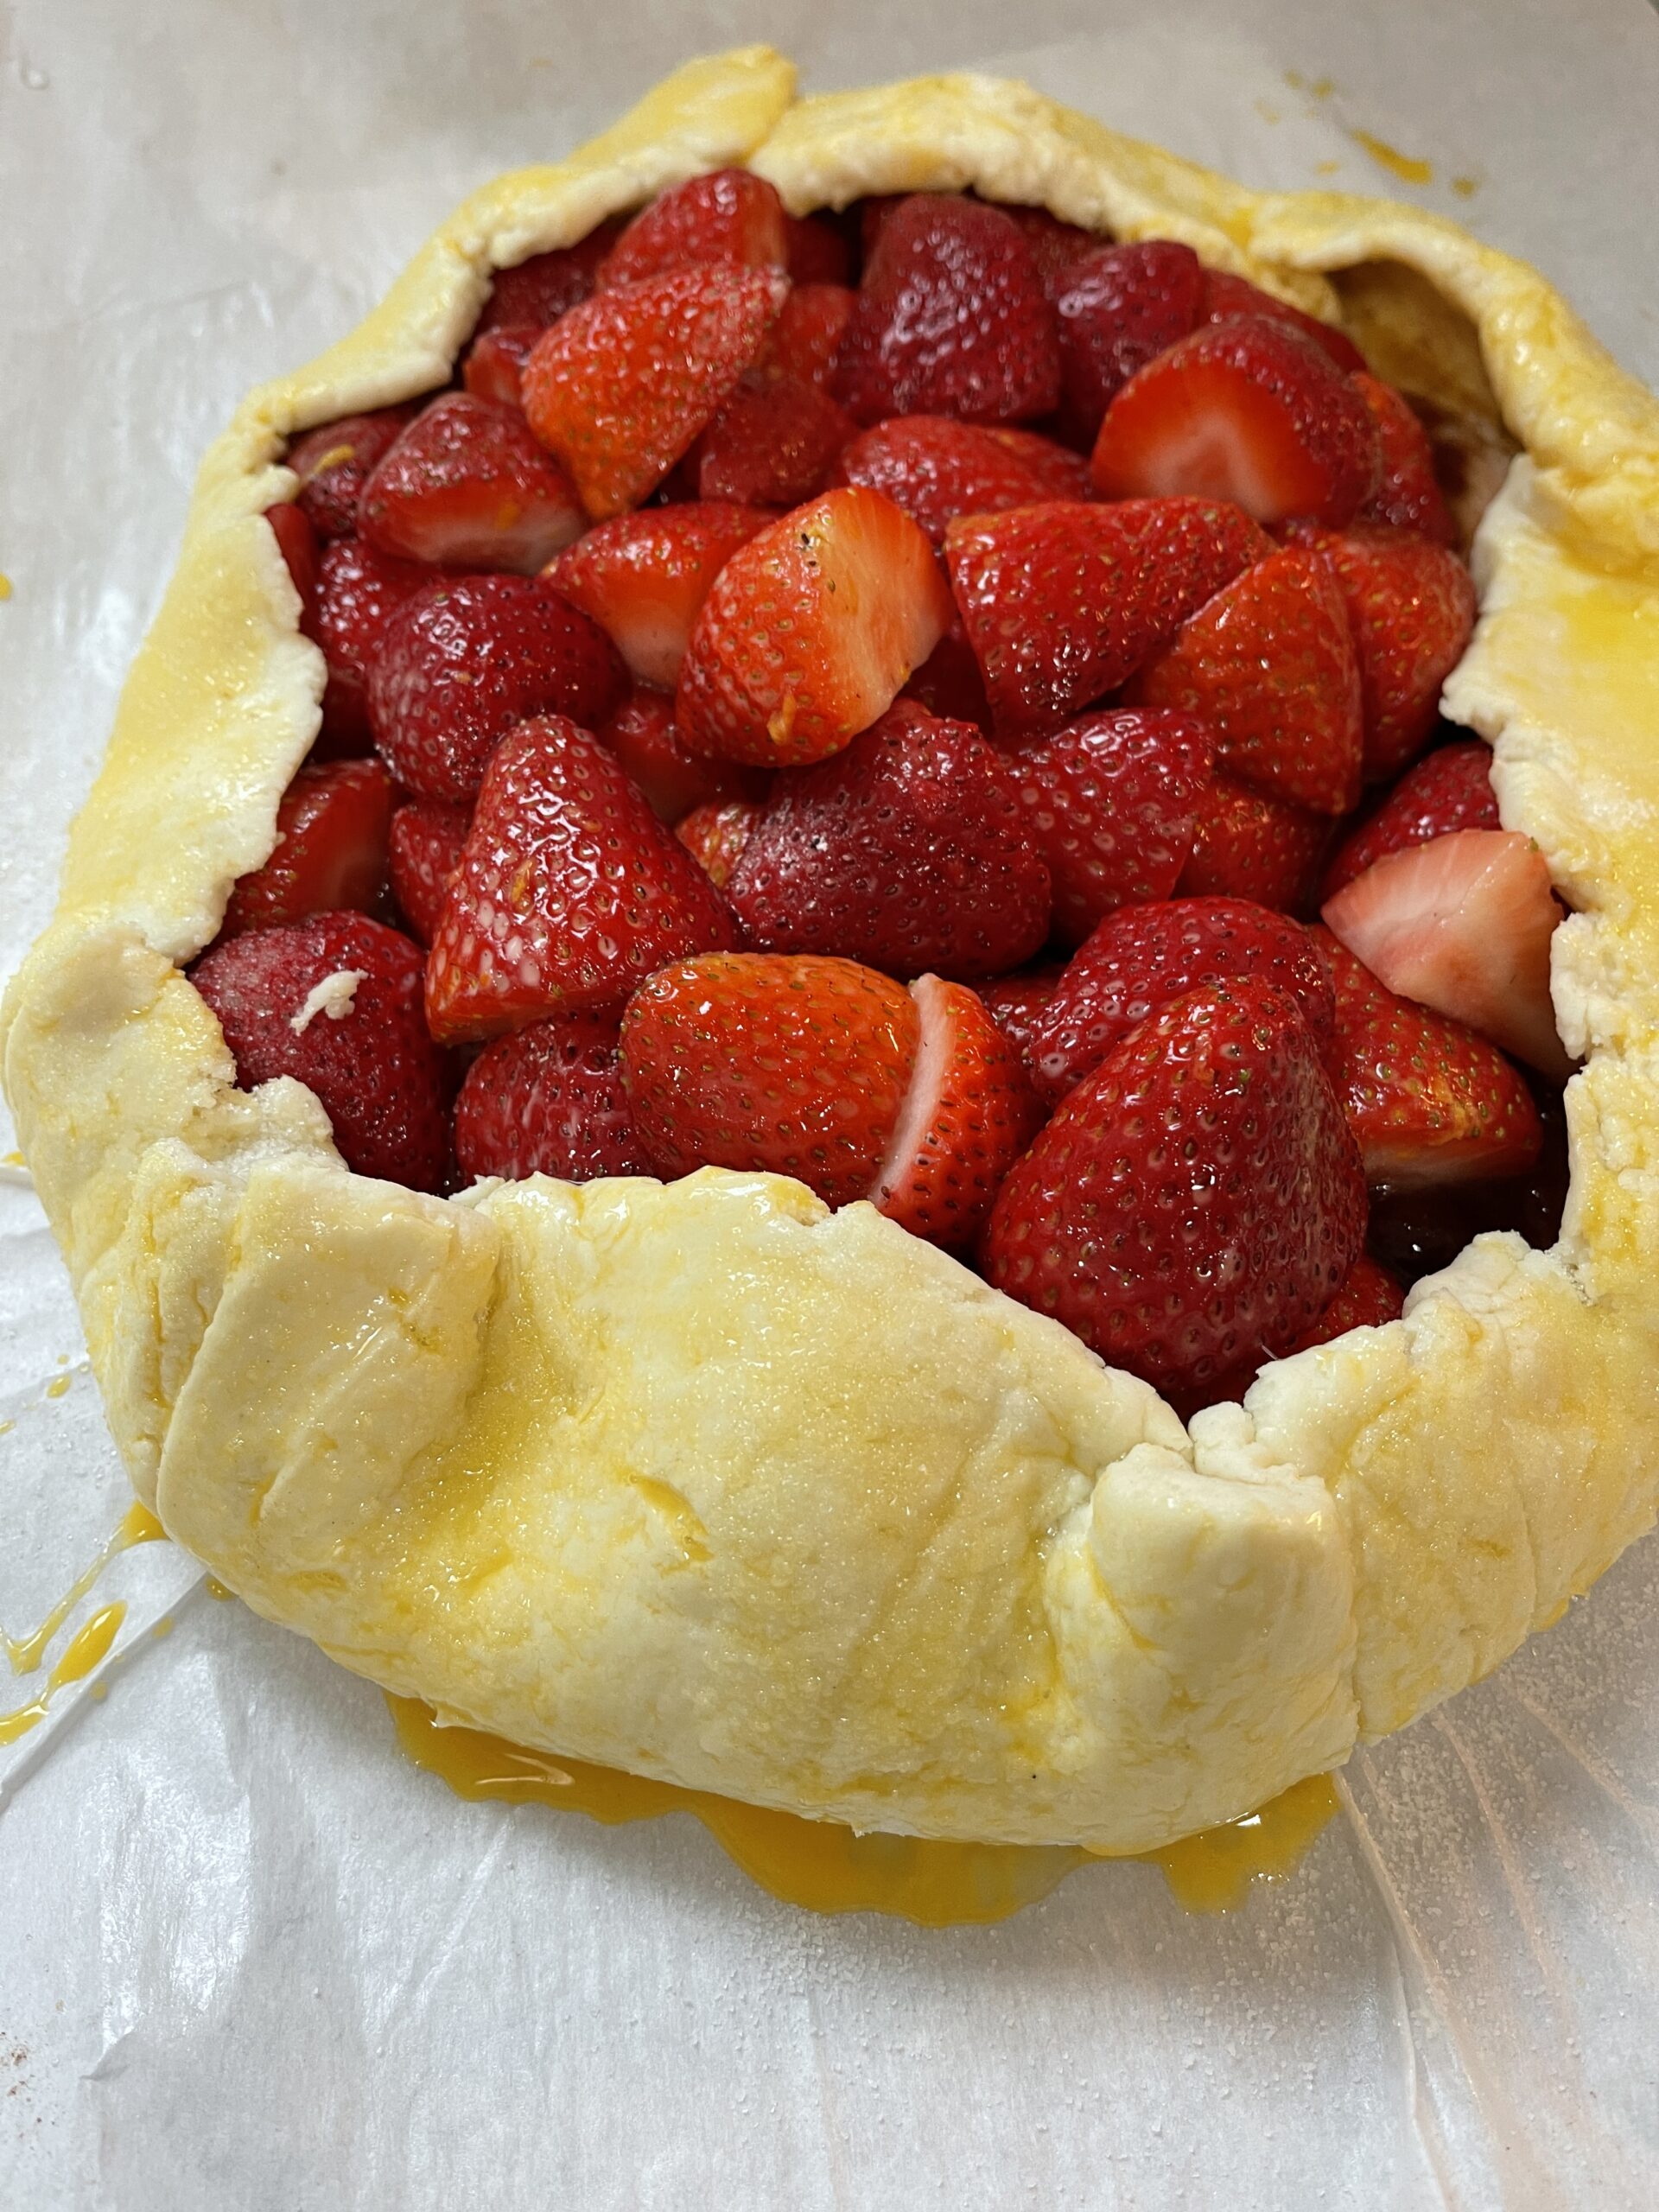
Line a baking sheet with parchment paper. Roll the galette dough into a round piece roughly 12 inches in diameter. I use a pastry mat to help guide me with this but, you can definitely do this by hand. Honestly there is no need for neat edges with this. Pile the fruit into an even layer in the center leaving a 2 inch border. Now, fold the border up over the fruit, making sure to leave a large hole over the fruit so steam can escape. Before baking, brush the galette edges with an egg wash.
The galette should bake until the crust is a deep golden-brown and the fruit is bubbly and cooked. This usually takes about 40 to 50 minutes or so. Transfer the galette and parchment paper to a wire rack and let it cool for 10-15 minutes. It will totally be worth the wait-trust me.
INGREDIENTS NEEDED-
- 2 Pounds Fresh strawberries-sliced into pieces
- 1 Tbsp Lemon Juice (freshly squeezed)
- 4 Tbsp Granulated Sugar
- 2 Tbsp Cornstarch (make sure the brand is gluten-free)
- 1 Large Egg-well beaten for Egg Wash
- Zest of 1 lemon
- 1 Tsp Vanilla Extract
- 1/4 Tsp Cinnamon
- optional- 1/2 Cup Strawberry or Raspberry jam (preferably without seeds
CRUST-
- 3 Cups Cup 4 Cup Gluten Free Flour
- 1/2 Tsp salt
- 2 Tbsp Sugar
- 2 Sticks Unsalted Butter or 1 Cup Shortening – use a high quality European style butter which has a higher fat content.
- 1/2 Cup to 1 Cup of Whole Milk or Buttermilk-
INSTRUCTIONS FOR MAKING GLUTEN-FREE STRAWBERRY GALETTE WITH JAM
- Preheat oven to 375 degrees F.
- In a large mixing bowl, add three cups of cup 4 cup flour with the 1 cup of Shortening/or butter and 1/2 tsp of salt. Whisk to combine. I used shortening for this recipe.
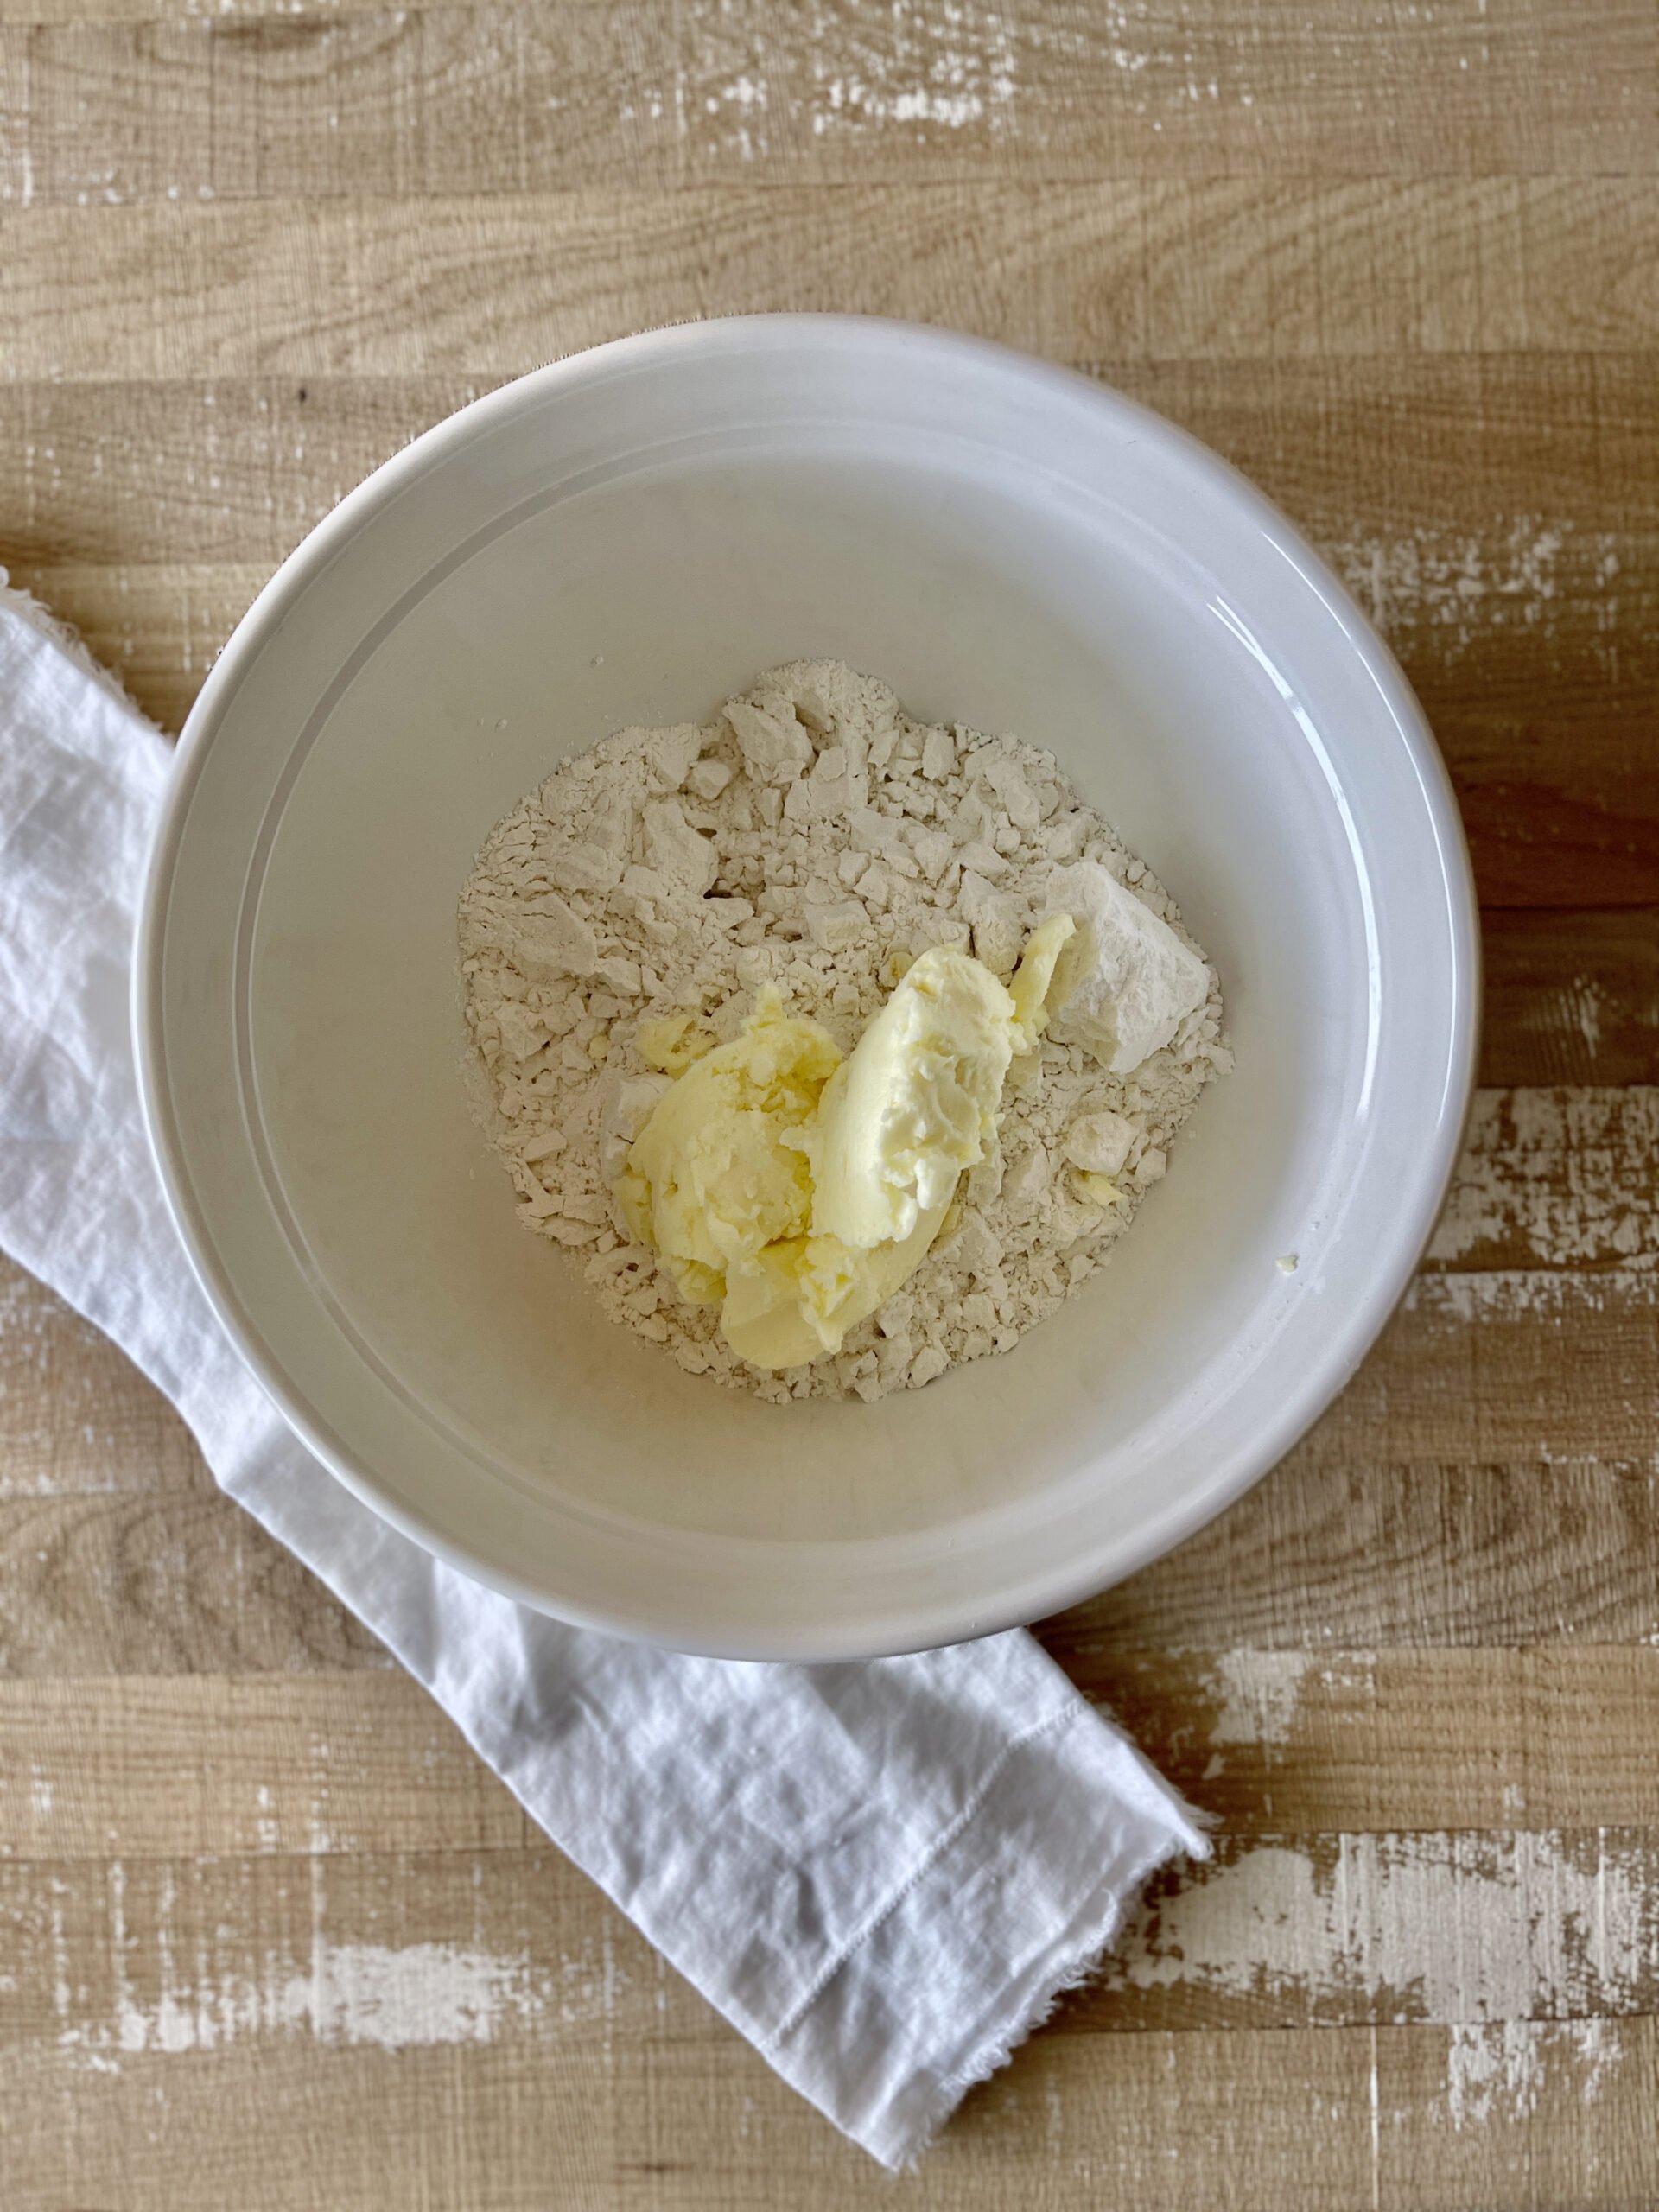
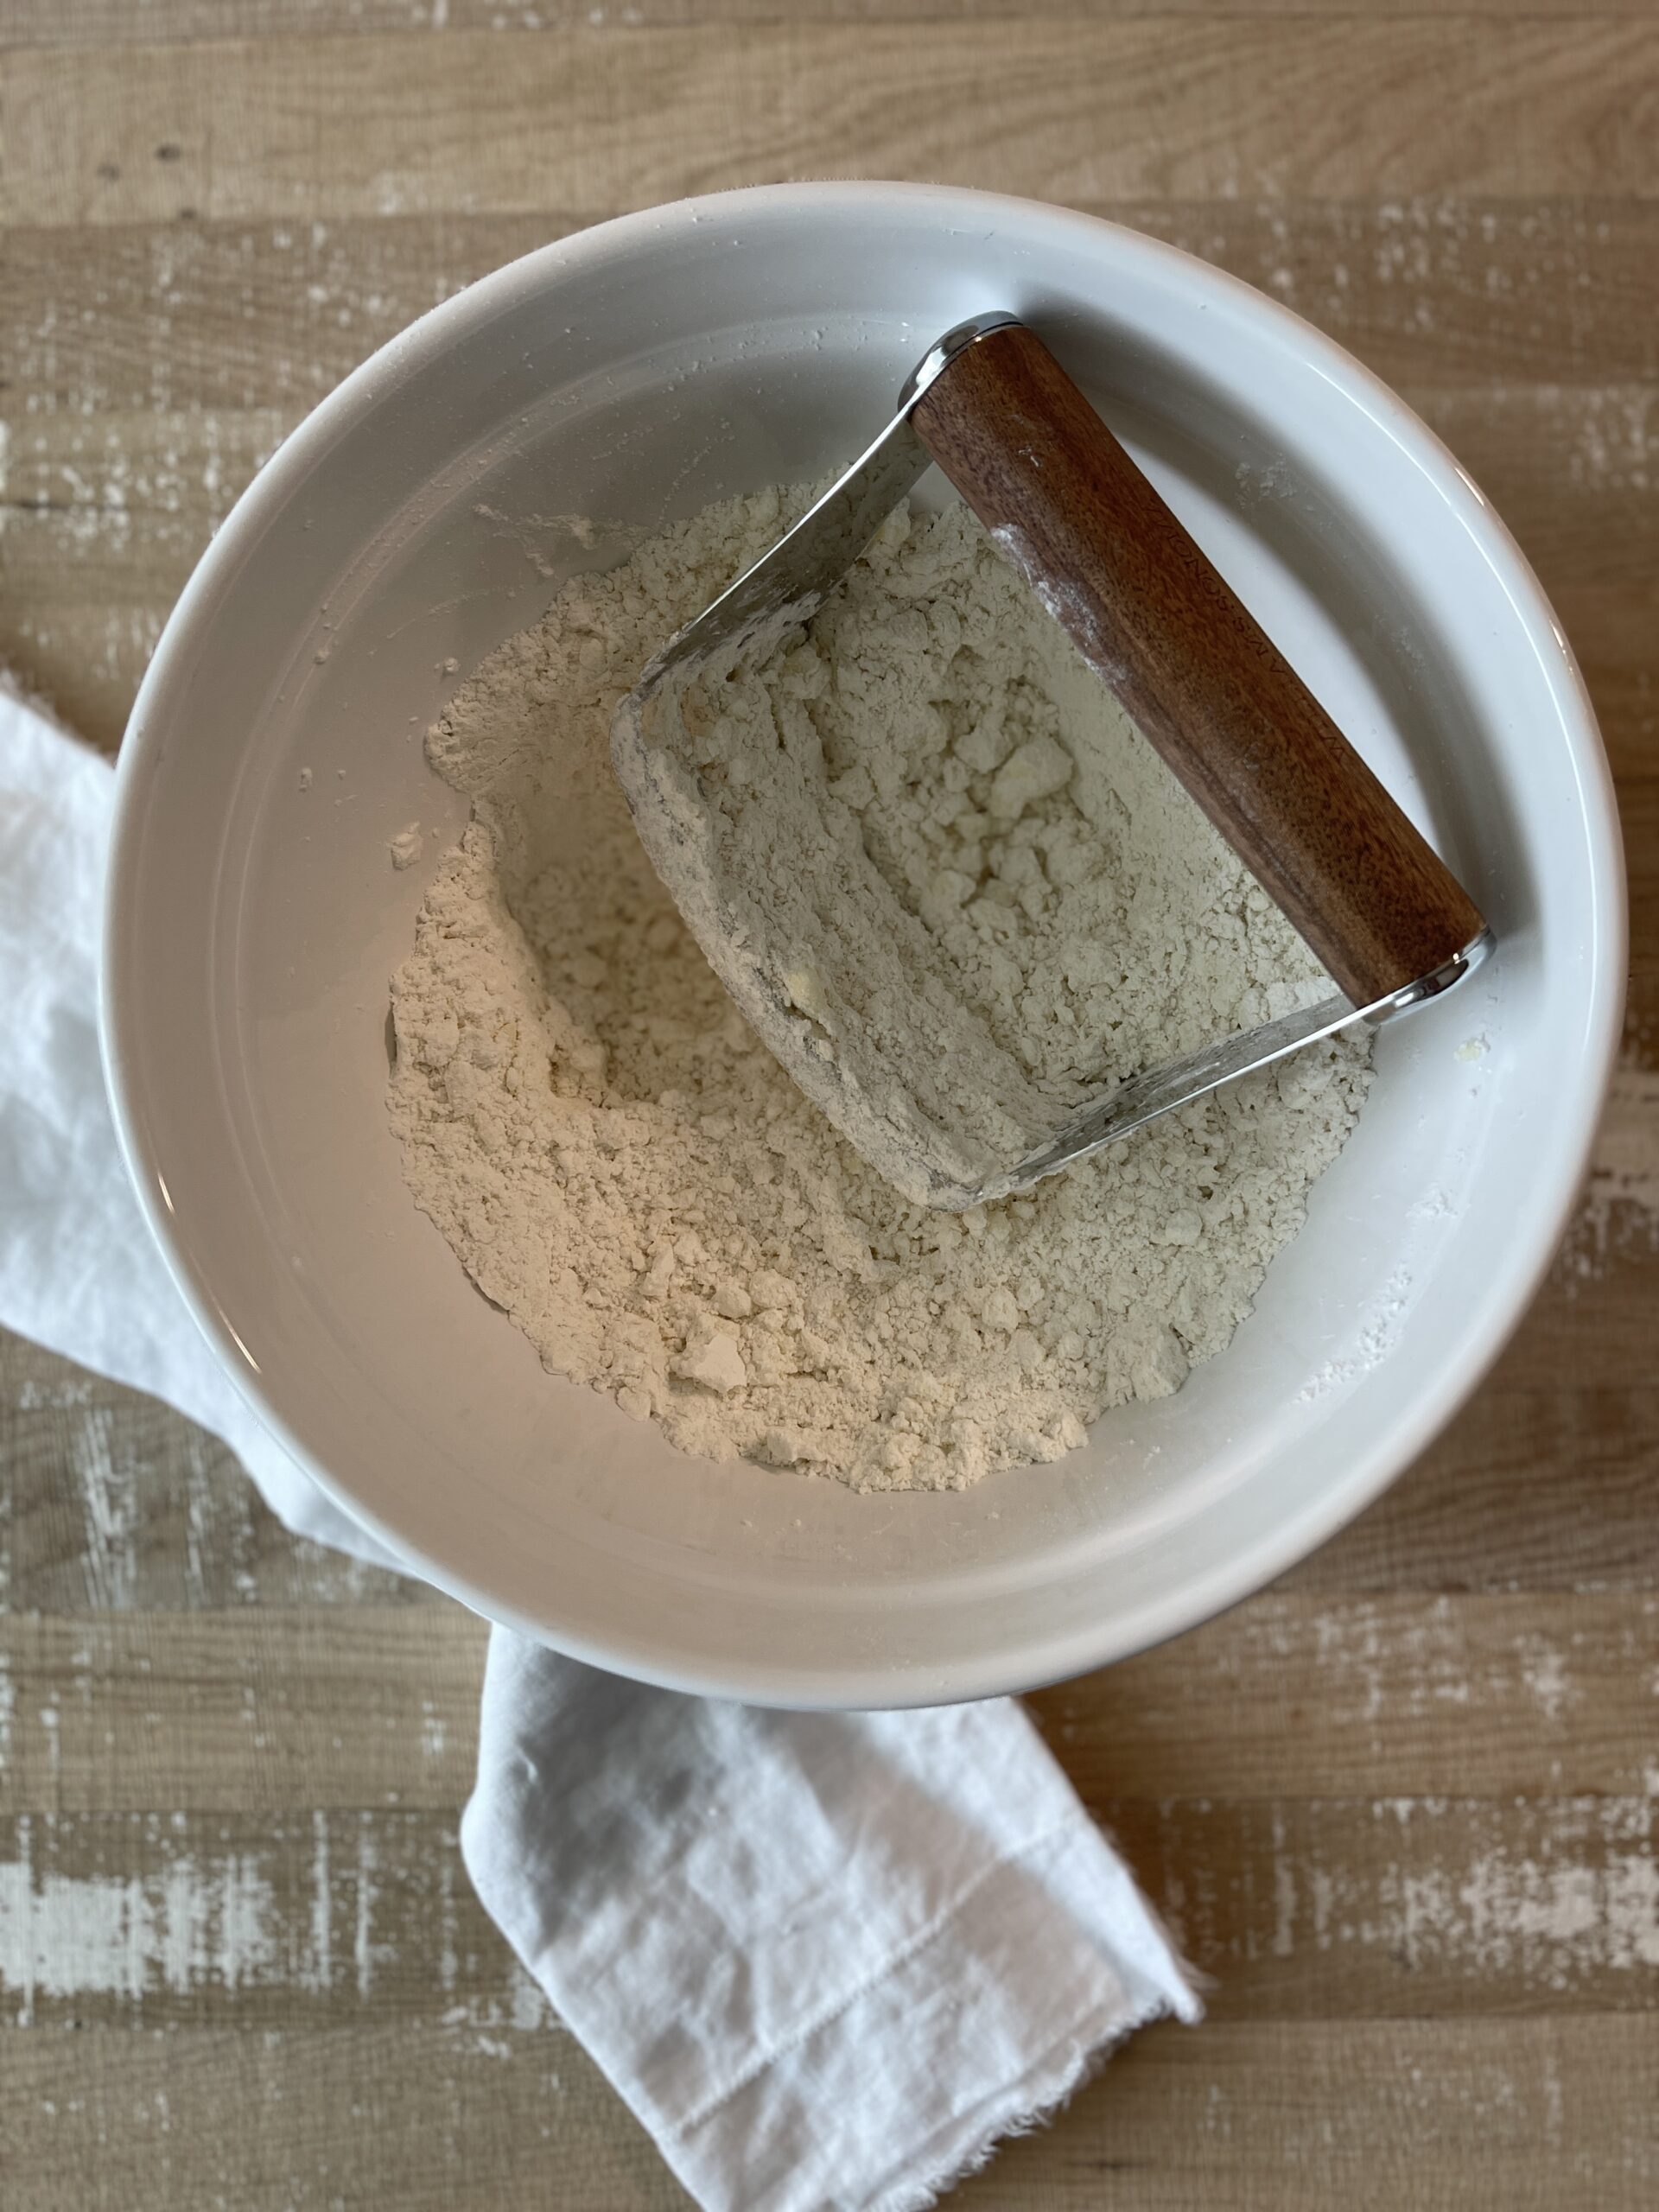
- If using the butter, cut into small cubes and using a pastry blender, combine the cubes of butter while still leaving small pieces into the dough. The small chunks of butter will help the crust become flaky.
- Starting with a 1/2 cup of whole milk or buttermilk, start combining with your hands. If this is not enough milk, add 1 more tablespoon at a time until the dough come together and looks shaggy. If the dough sticks together it’s ready. Stop once the mixture starts to come together and look shaggy. It varies between me using a half a cup of milk to a cup of milk.
- Give the dough a pinch-if it sticks together it’s ready. If not, keep repeating until you reach your desired consistency.
- If you find your dough is too wet, add a little bit more gluten-free flour until it is the right consistency.
- Transfer the dough to a lightly floured surface and shape it into a ball. Wrap into a ball and cover in Saran Wrap and refrigerate for at least 30 minutes.
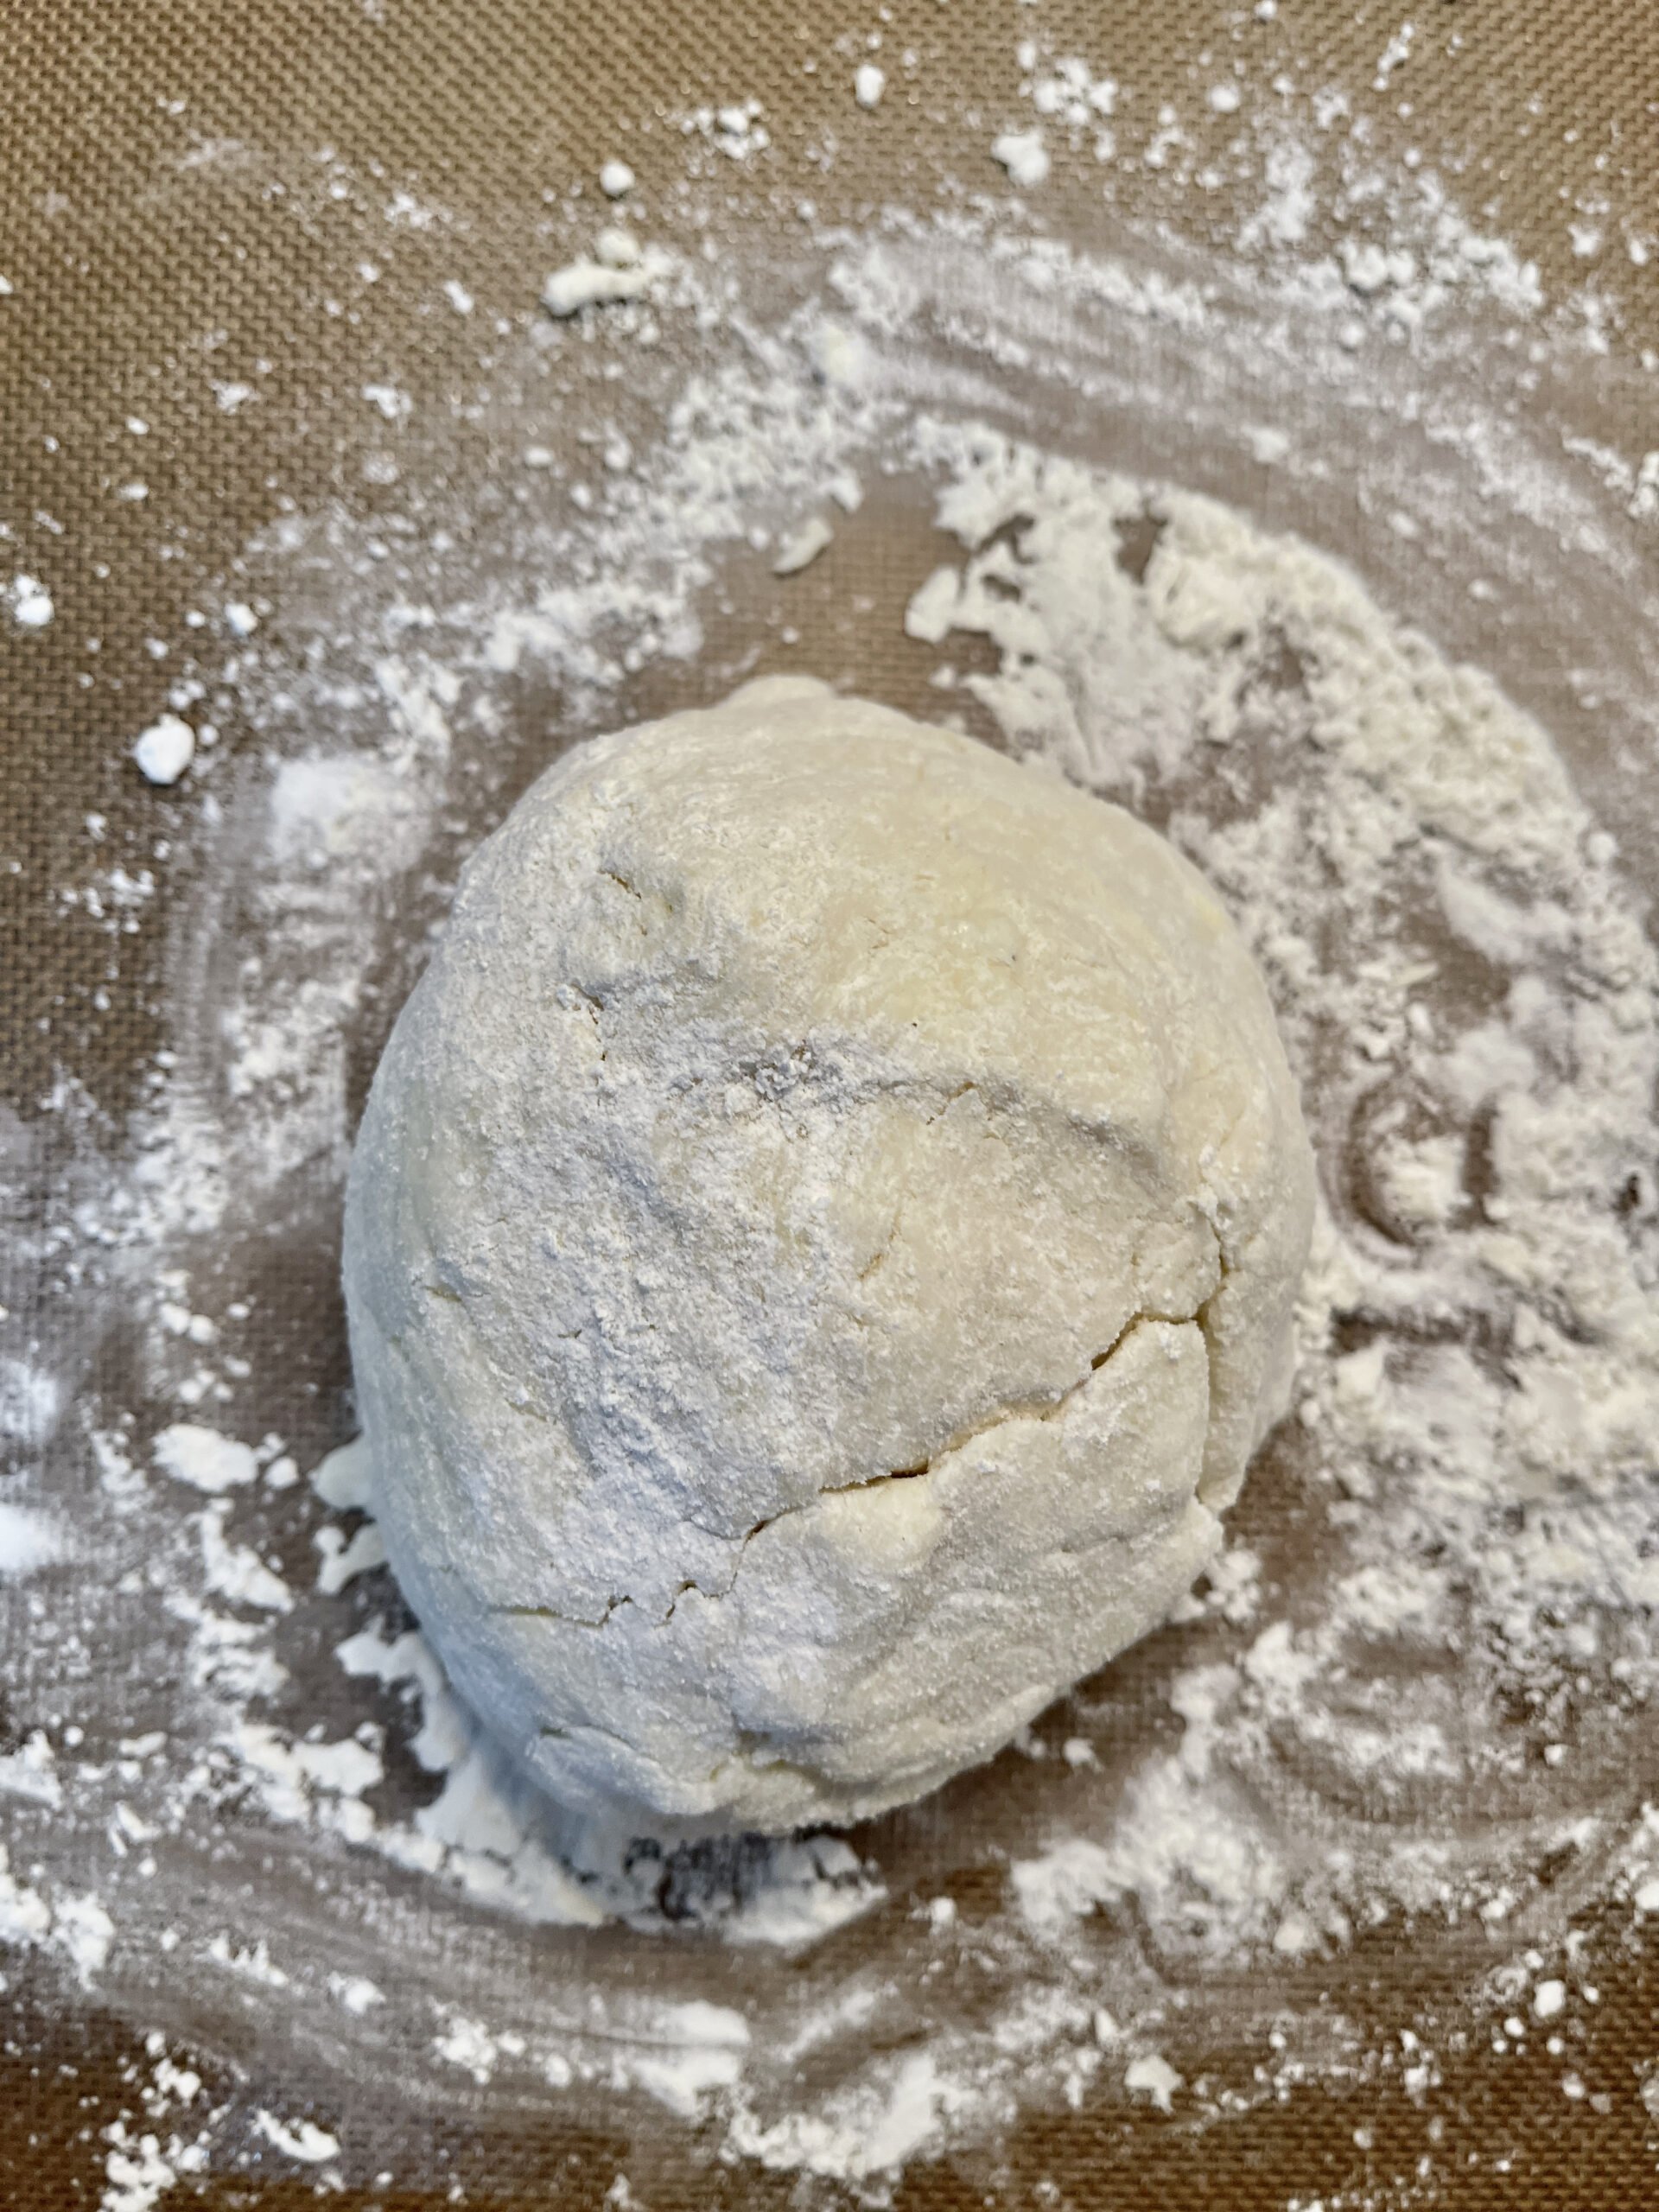
- If the dough has been in the fridge for several hours, let it sit at room temperature until slightly softened about 10-20 minutes.
- Roll the dough out onto a pastry mat. If your dough immediately starts cracking, it’s too cold. Give it a couple more minutes to warm up.
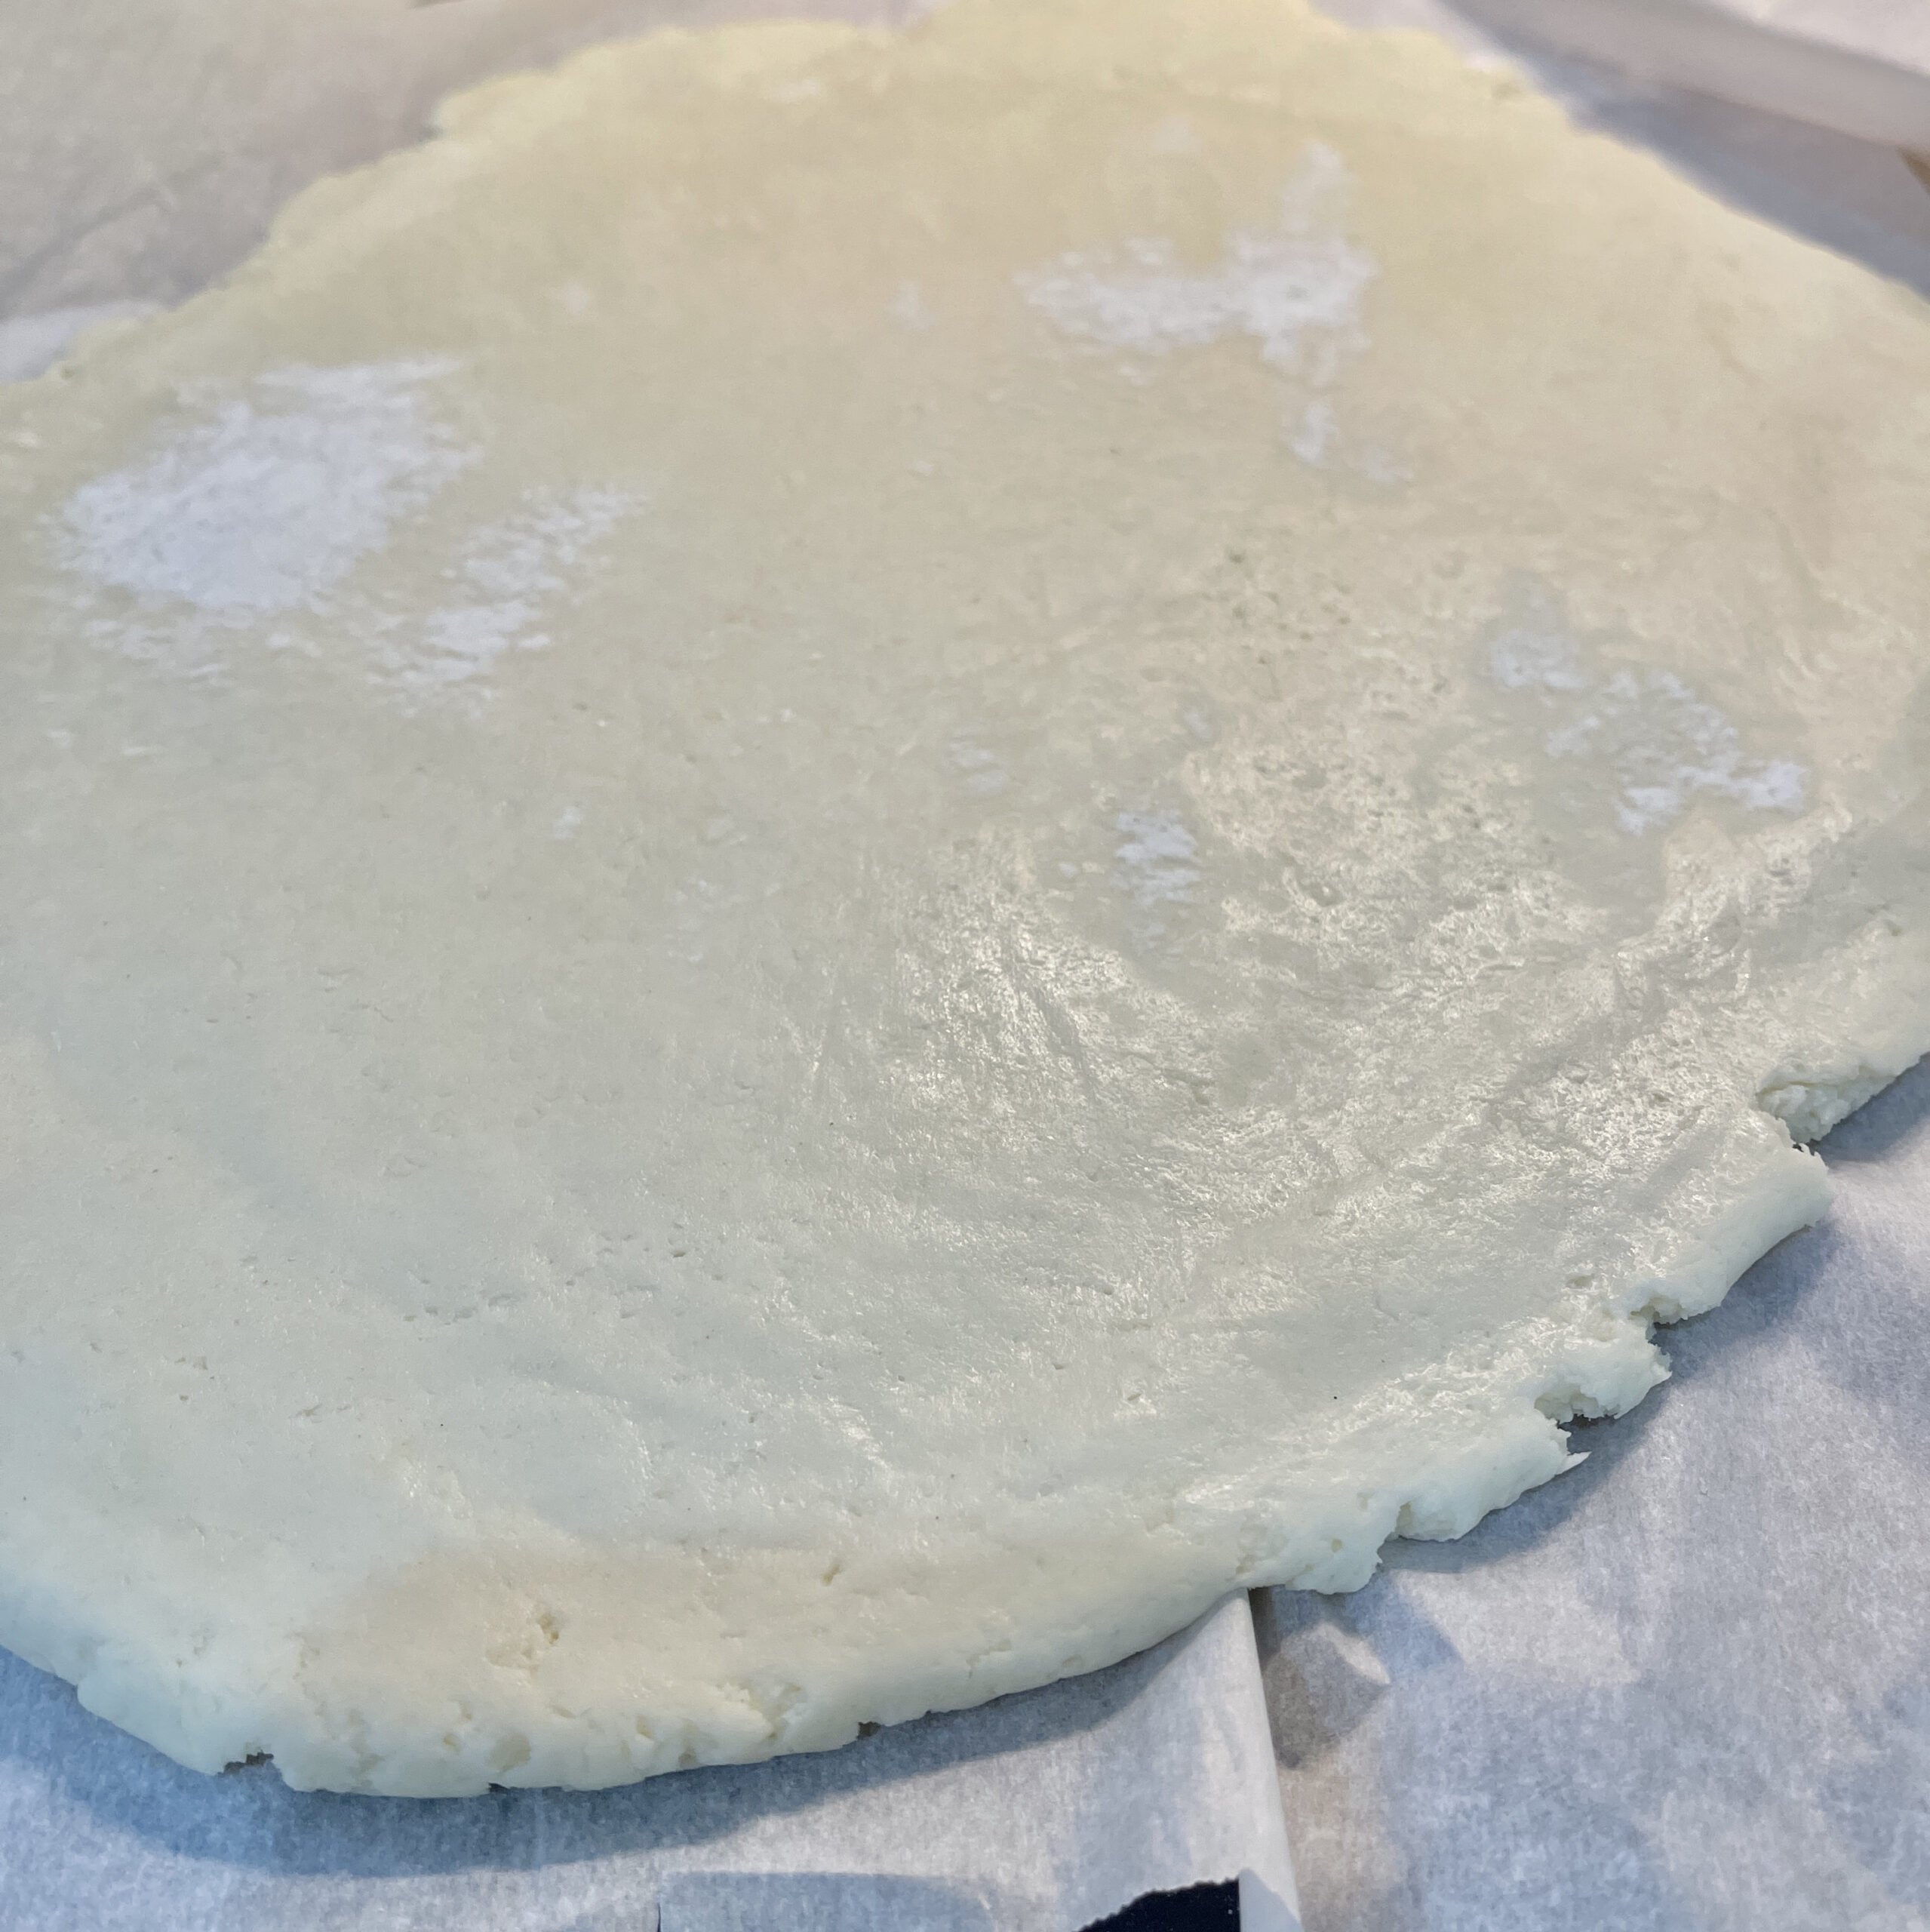
- Optional-spread the dough with jam, leaving a 1 inch border around the edge. You would need to add the sugar before adding the jam.
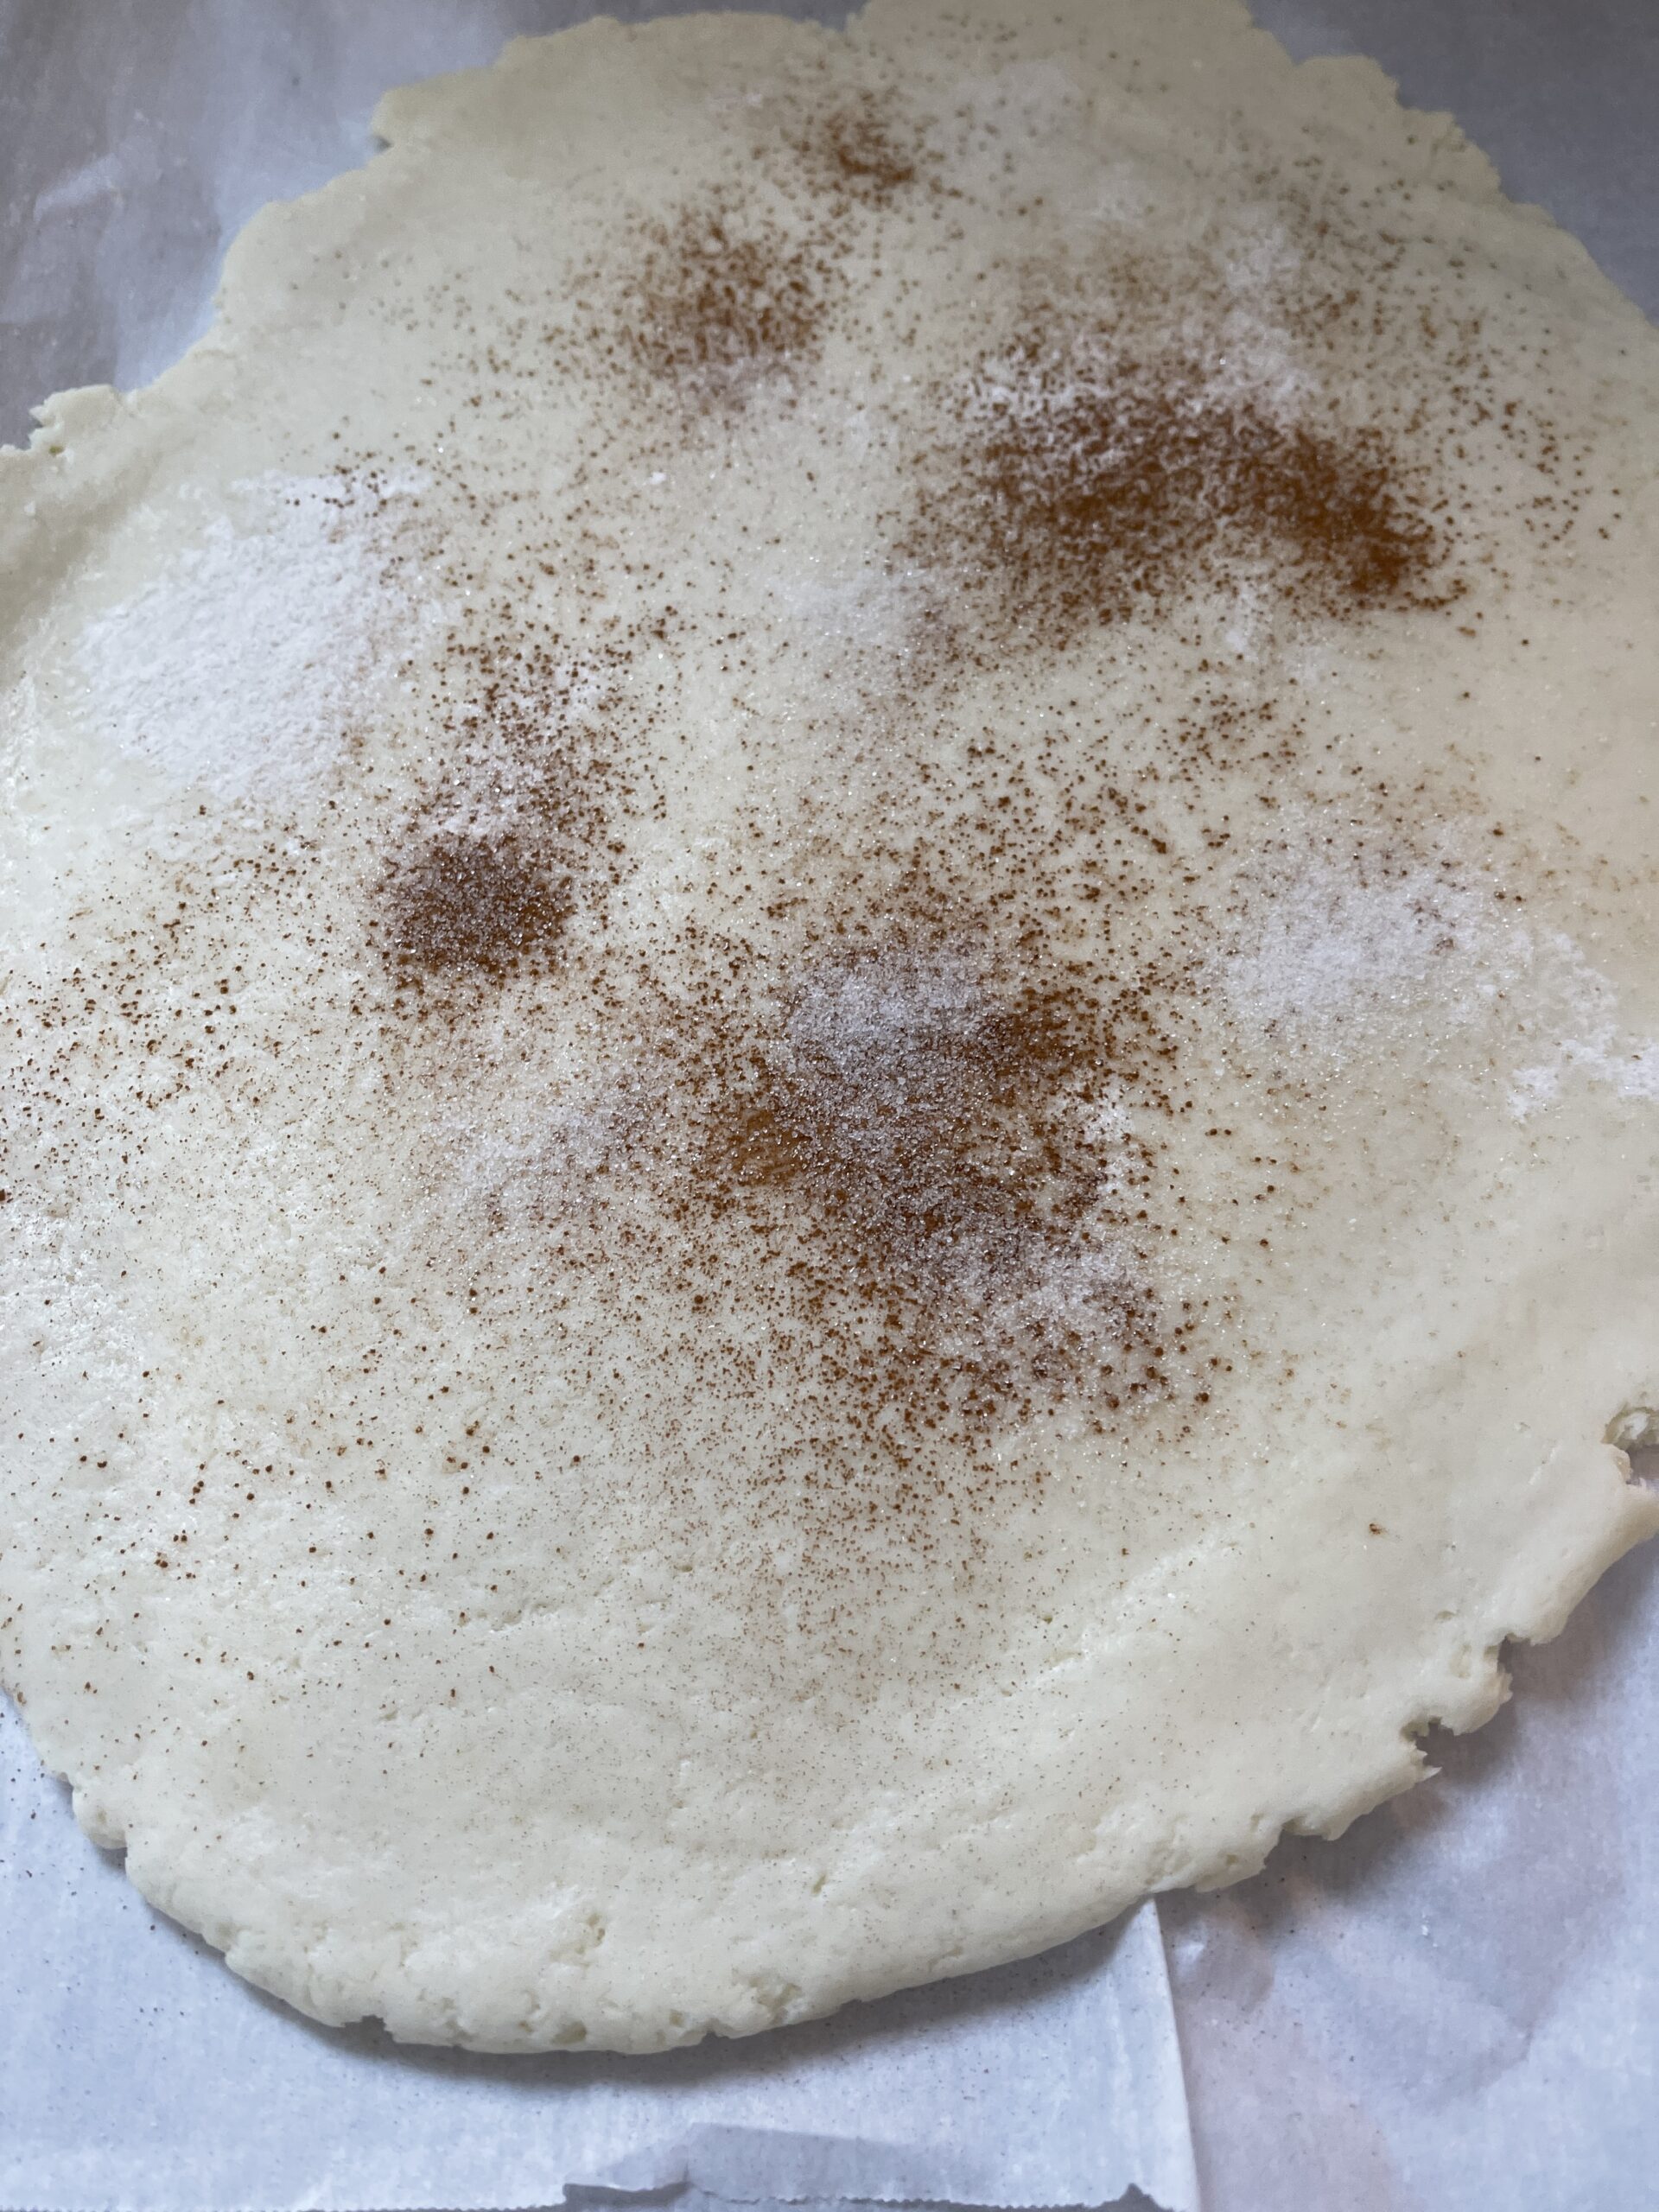
- Sprinkle 1 Tbsp sugar and cinnamon over surface of dough leaving a 2 inch border. Pile strawberries into center of dough and arrange into an even layer leaving 2 inch border.
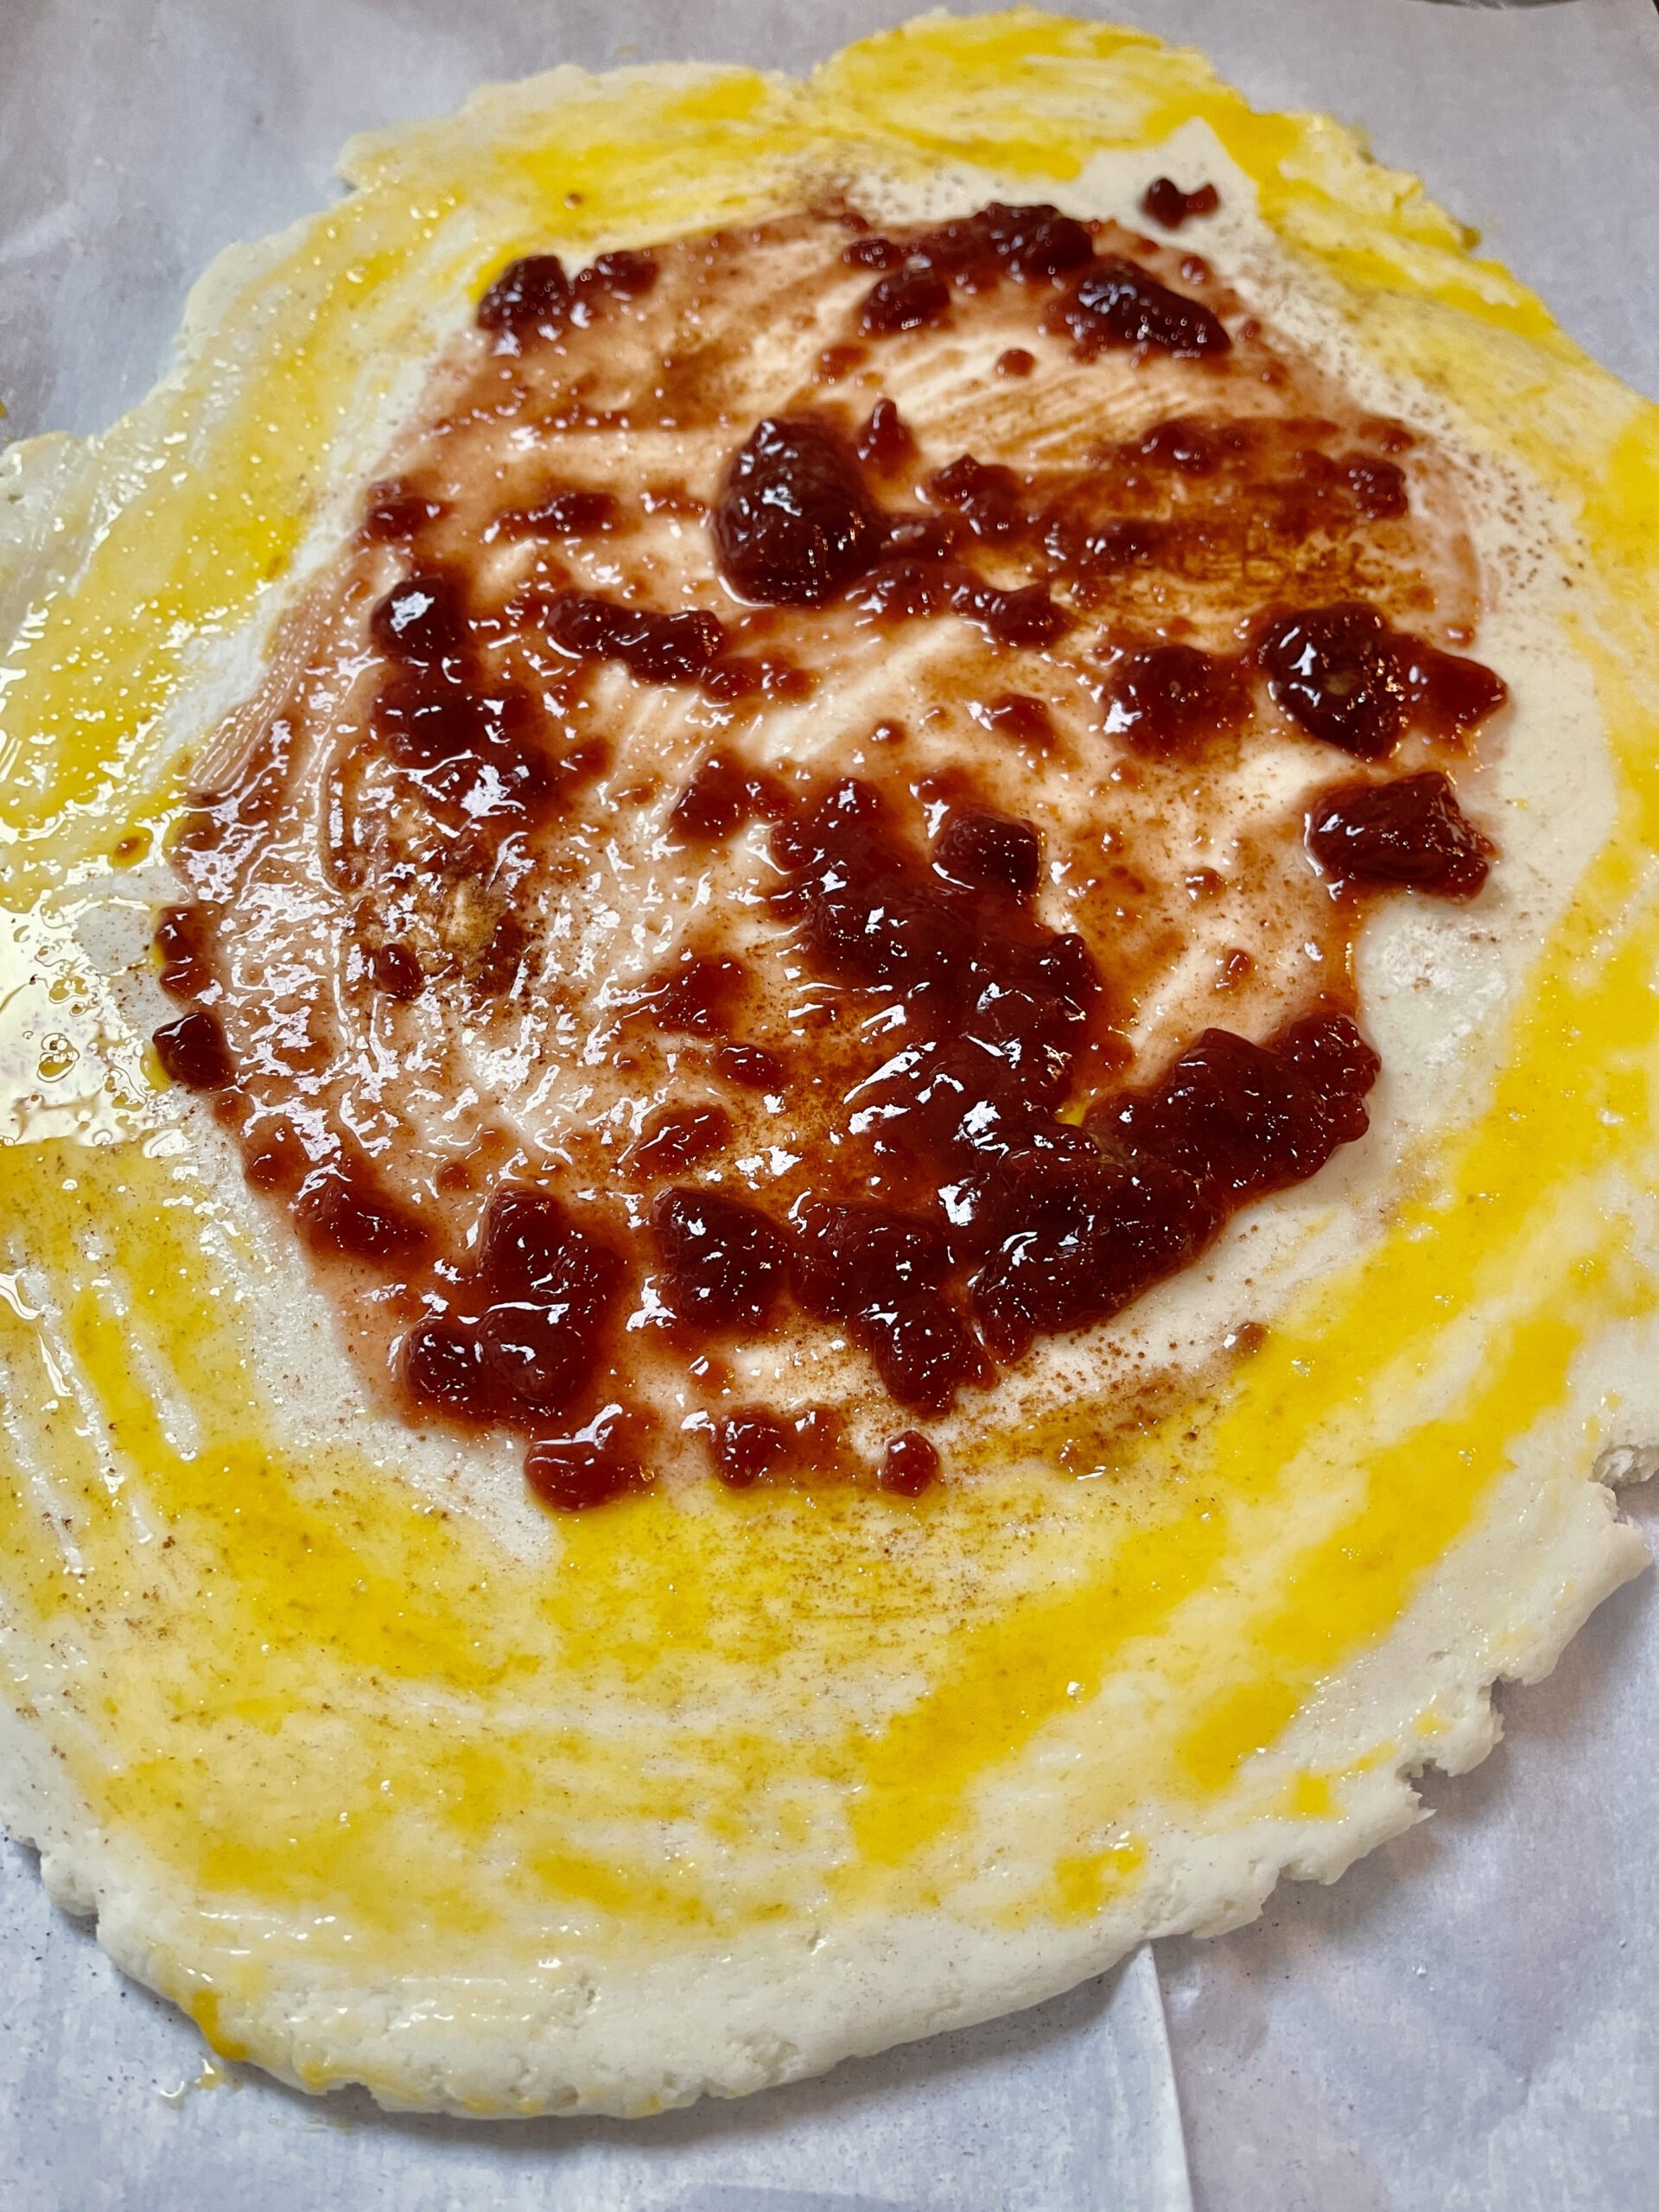
- If you would like, you can add some mascarpone cheese or strawberry jam before adding the fruit.
- Place the galette in fridge for 30 minutes after assembling before putting in the oven.
- Bake for 40-50 minutes until its golden brown.
- Rotate the pan half way thru cooking.
GLUTEN-FREE STRAWBERRY GALETTE WITH JAM
Fresh and sweet filling with a flaky crust that’s home-made. Gluten-free Strawberry Galette with jam is begging to be on your table. Not only is this dessert gorgeous, its relatively easy to make at home. Honestly, this stunning treat is a winner every time.
- Prep Time: 30 Minutes
- Cook Time: 60 Minutes
- Total Time: 1 Hour 30 Minutes
- Yield: 7 slices 1x
- Category: Desserts
- Method: Bake
- Cuisine: French
- Diet: Gluten Free
Ingredients
- 2 Pounds Fresh strawberries-sliced into pieces
- 1 Tbsp Lemon Juice (freshly squeezed)
- 4 Tbsp Granulated Sugar
- 2 Tbsp Cornstarch (make sure the brand is gluten-free)
- 1 Large Egg-well beaten for Egg Wash
- Zest of 1 lemon
- 1 Tsp Vanilla Extract
- 1/4 Tsp Cinnamon
- optional- 1/2 Cup Strawberry or Raspberry jam (preferably without seeds
Crust-
- 3 Cups Cup 4 Cup Gluten Free Flour
- 1/2 Tsp sea salt
- 1 Cup of Shortening or 2 Sticks Unsalted Butter- use a high quality European style butter which has a higher fat content.
- 1/2 Cup to 1 Cup of Whole Milk or Buttermilk-
Instructions
- Preheat oven to 375 degrees F.
- In a large mixing bowl, add three cups of cup 4 cup flour with the 1 cup of Shortening and 1/2 tsp of salt. Whisk to combine.
- If using the butter, cut into small cubes and using a pastry blender, combine the cubes of butter while still leaving small pieces into the dough. The small chunks of butter will help the crust become flaky.
- Starting with a 1/2 cup of whole milk or buttermilk, start combining with your hands. If this is not enough milk, add 1 more tablespoon at a time until the dough come together and looks shaggy. If the dough sticks together it’s ready. Stop once the mixture starts to come together and look shaggy. It varies between me using a half a cup of milk to a cup of milk.
- Give the dough a pinch-if it sticks together it’s ready. If not, keep repeating until you reach your desired consistency.
- If you find your dough is too wet, add a little bit more gluten-free flour until it is the right consistency.
- Transfer the dough to a lightly floured surface and shape it into a ball. Wrap into a ball and cover in Saran Wrap and refrigerate for at least 30 minutes.
- If the dough has been in the fridge for several hours, let it sit at room temperature until slightly softened about 10-20 minutes.
- Roll the dough out onto a pastry mat. If your dough immediately starts cracking, it’s too cold. Give it a couple more minutes to warm up.
- Optional-spread the dough with jam, leaving a 1 inch border around the edge. You would need to add the sugar before adding the jam.
- Sprinkle 1 Tbsp sugar over surface of dough leaving a 2 inch border. Pile strawberries into center of dough and arrange into an even layer leaving 2 inch border.
- If you would like, you can add some mascarpone cheese or strawberry jam before adding the fruit.
- Place in fridge for 30 minutes after assembling before putting in the oven.
- Bake for 40-50 minutes until its golden brown.
Notes
- Cup 4 Cup gluten-free flour is hands down the best flour to use. I have tried most of the gluten-free flour brands. Cup 4 Cup is the easiest to work with, and creates the best taste and flakiness for crust.
- If you find the galette is browning too quickly, cover with foil.
- Halfway thru cooking turn the galette to other side.
- I used Spectrum Organic Vegetable Shortening
- Rotate half way thru cooking.
Keywords: Gluten-Free Strawberry Galette, Summer Desserts, Summer, Strawberries, Gluten-Free, Desserts
HOW TO SERVE?
Think of a galette as a pie. You bake it in the oven till its bubbling and golden. You then let it cool slightly and slice into pieces. Add a dollop of whipped cream, powdered sugar or a scoop of ice cream. If you really want to go crazy, add all three. I don’t think anyone would say no to that.
HOW TO STORE YOUR GALETTE?
Store your galette loosely covered with plastic wrap and foil at room temperature for 2 days. You can keep it in the fridge up to 5 days but I do find that it tends to get soggy pretty quickly, especially with gluten-free dough. To reheat: place in oven at 300F for 10 minutes or until warm. If you microwave, this method will soften the crust.
PIN FOR LATER-
SHOP THIS POST-


 GF Sweet Potato Casserole with Meringue
 Gluten-Free Citrus Salad
 GF Tomato and Brie Tart
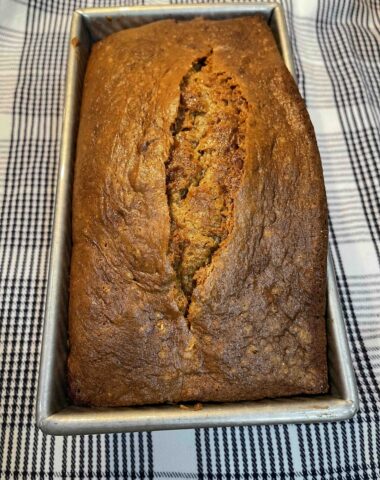 Gluten Free Apple Bread


Ive been looking For a good gf crust. This is so easy and DELICIOUS.
★★★★★
Love this! This would be great for when i get together with my gluten free family members!! 😄
Thanks Sharon. This is definitely great to have when you have get togethers with family who are gluten-free. Hope you enjoy.
Gorgeous and rustic looking! I’m definitely going to make this soon… my strawberries are just starting to come off!
This looks so delicious! I like how you detailed every step by step. Can’t wait to try it!
Thanks Ada. I have to say it was hard to eat just once piece. It was so good.
This looks so good that I’ll have to make it very soon. Thank you for posting this delicious recipe!
Thanks Anja.